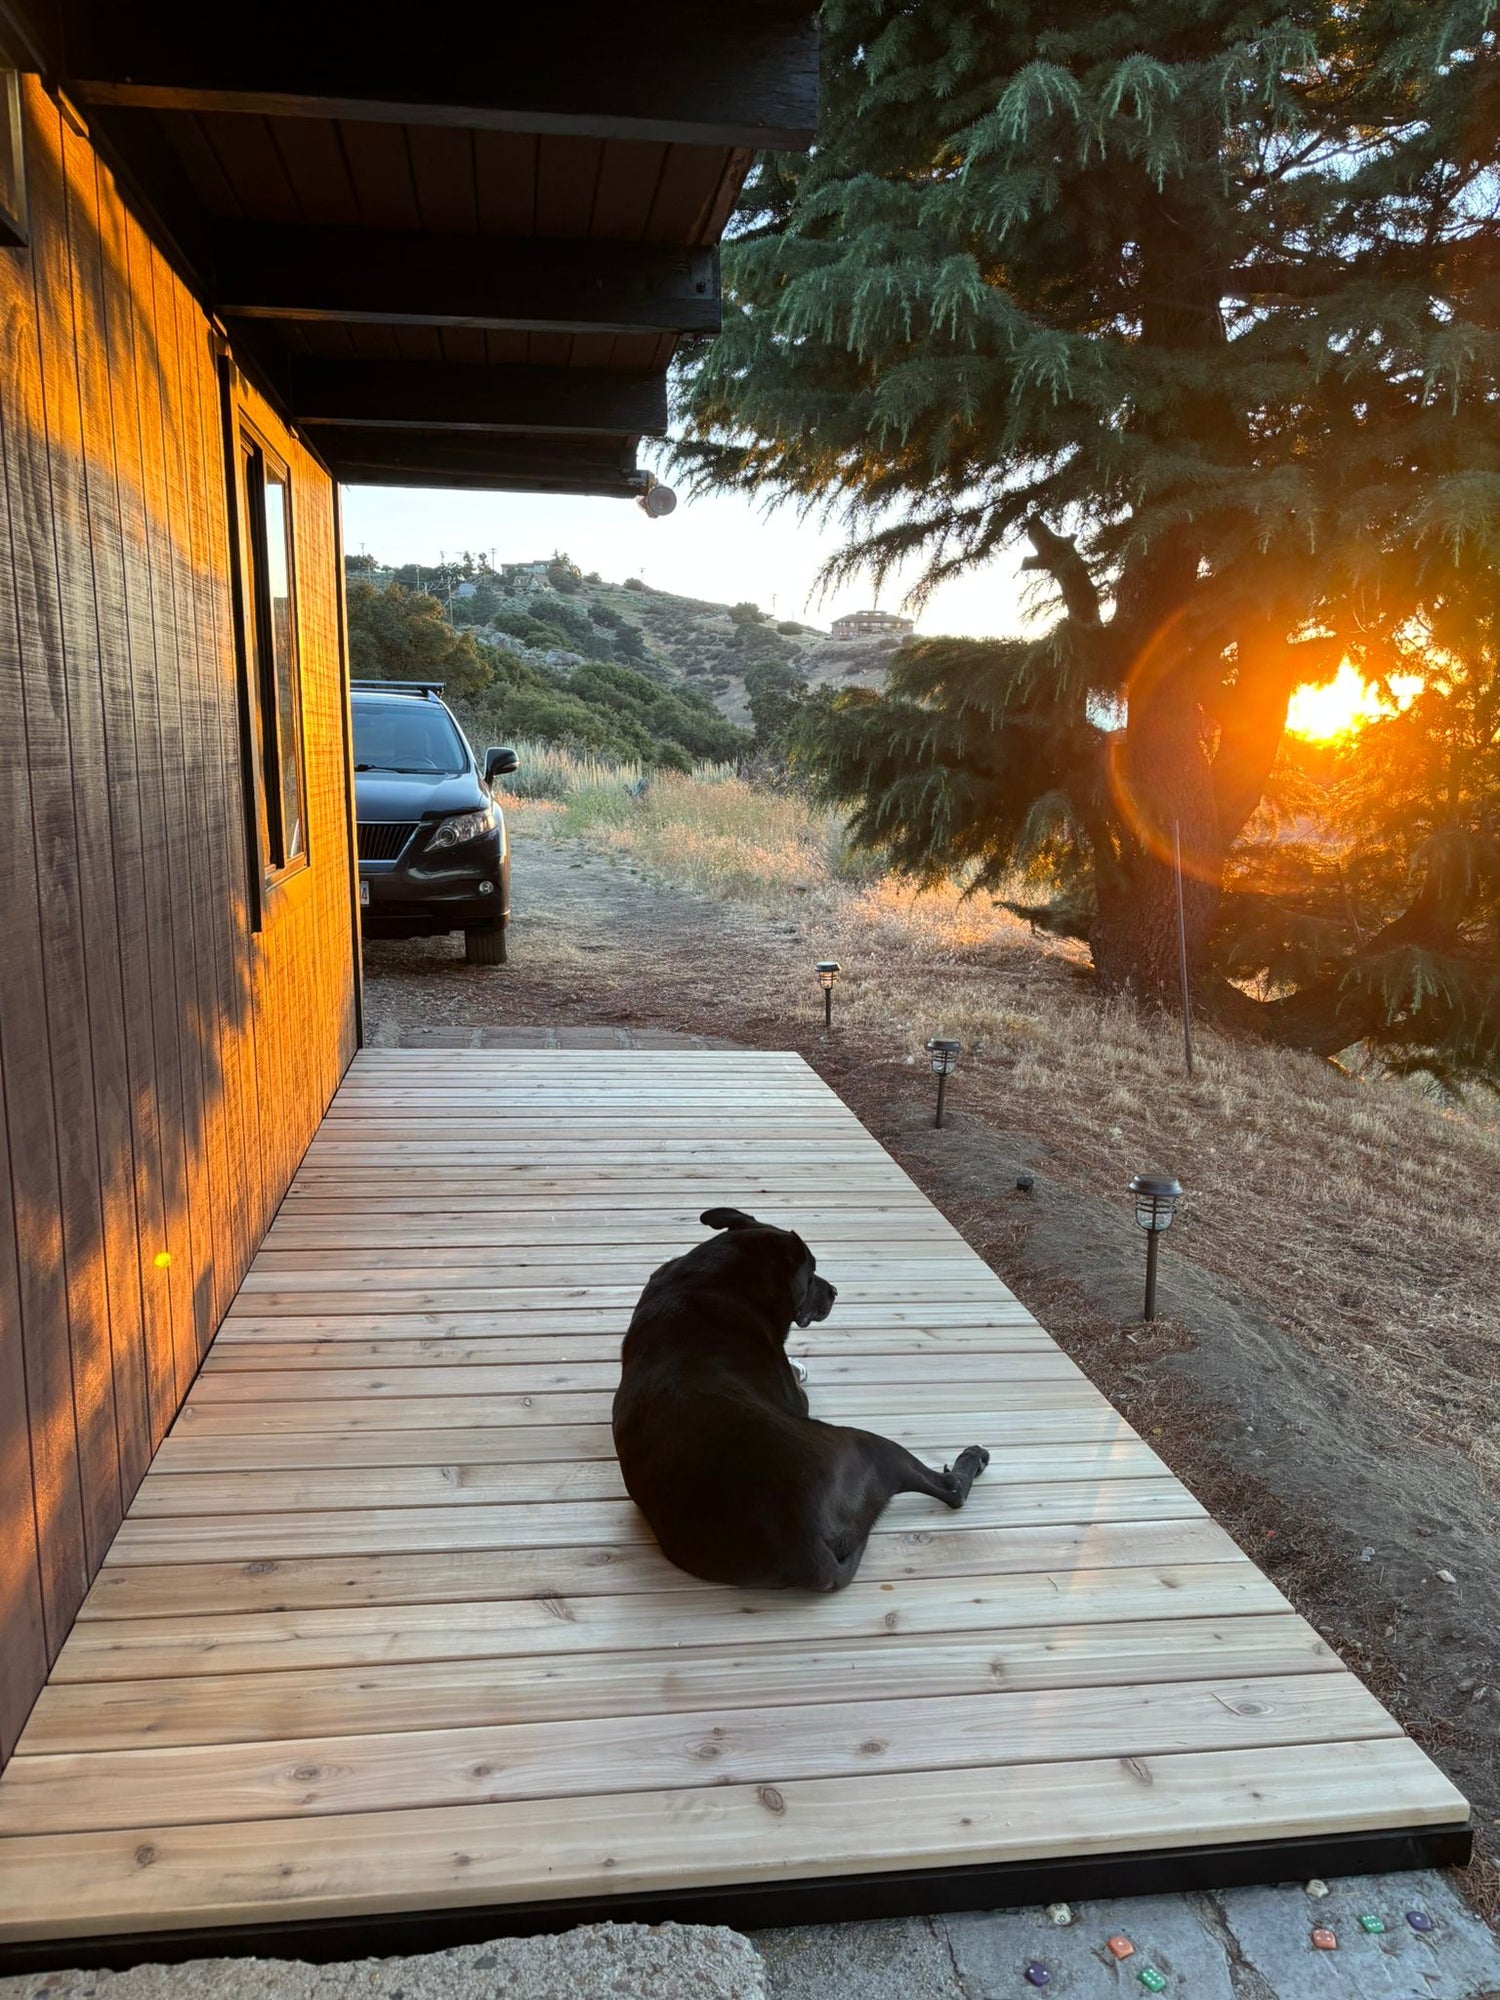
Thanks for a great product and terrific customer support. We loved it getting here before the seasonal site closed. In the spring well contact you about adding more sections!
How It Works

Transform Outdoor Spaces
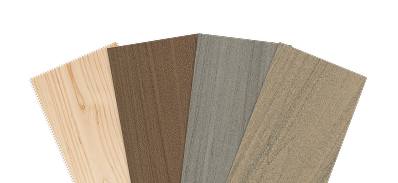
- Available in Cedar or Composite Surfaces
- Never-Rot Aluminum Frames
- Beautiful Powder Coated Black Finish
- Optional Perimeter Lighting
- Simple to Level for Uneven Surfaces
- No Permits Required
- Lifetime Limited Warranty

Simple to connect decking bloks make assembly (and disassembly) a breeze

Our proprietary decking system requires no tools to assemble

Eliminates the time, mess and labor needed to dig and pour concrete footings

Leveling feet easily twists to raise or lower height for a level surface
Easy To Set Up
-
Step 1:
Connect the frame modules together utilizing the proprietary blokDEK® frame system
Step 2:
Level the combined frame by adjusting the height of the integrated levelling feet
Step 3:
Add the deck panels to the top of the frame modules and step them into place
1 / of 3Better System, Better Deck
- Speed
- Quality
- Longevity

Effortless Setup In Minutes
Say goodbye to the long, labor-intensive process of building a traditional wood deck. With blokDEK®’s modular decking system, you can achieve a beautiful, functional outdoor space in a fraction of the time without the hassle of heavy tools, complex measurements, or professional contractors.
Unlike conventional wood decks that require digging, framing, and fastening with nails or screws, blokDEK® assembles within minutes. No cutting, no drilling, no waiting for permits—simply setup and enjoy. Installing a blokDEK® is as effortless as setting up a couch: unpack, adjust the levelling feet, and start relaxing.
A Precise Foundation with Aluminum Framing
When designing an outdoor space, the quality of your deck’s foundation is just as important as the surface. While wood framing has long been the standard, it comes with natural inconsistencies that can lead to warping, twisting, and an uneven structure. Even treated wood is prone to knots, grain variations, and moisture-related expansion, making installation unpredictable and often requiring adjustments to ensure a proper fit.
Aluminum framing eliminates these issues entirely. Engineered for precision, it provides a perfectly level, structurally sound base from day one. Every component is manufactured to exact specifications, ensuring seamless alignment and eliminating the risk of dips, sagging, or instability. The result? A flawlessly flat deck that maintains its integrity.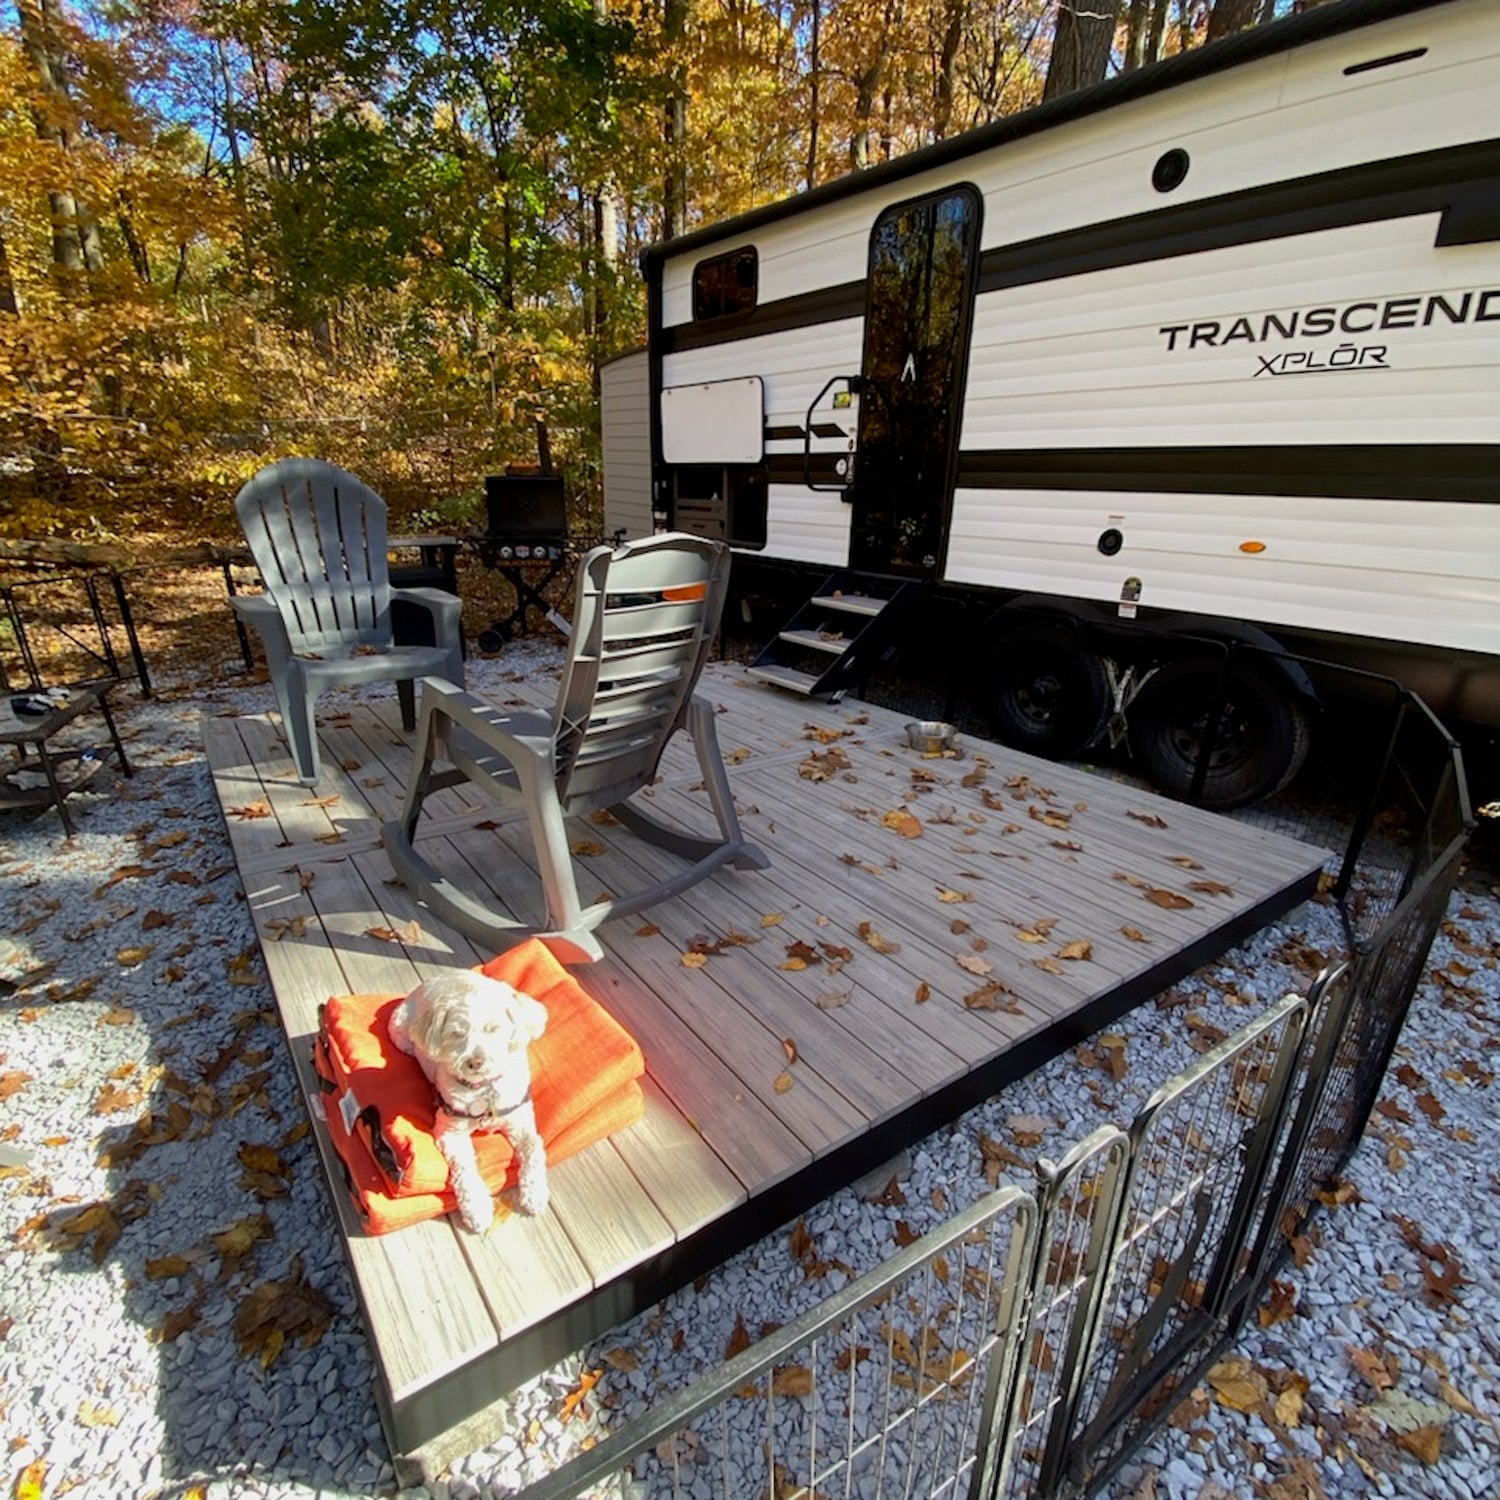
A Smarter, More Durable Investment
Unlike wood, which is vulnerable to warping, rotting, insect damage, and moisture-related decay. In contrast, blokDEK®’s powder-coated aluminum frame is corrosion-resistant, weatherproof, and impervious to termites, ensuring that your deck maintains its integrity and appearance for years to come—without the hassle of constant maintenance.
Beyond its durability, blokDEK® maximizes your return on investment (ROI) by maintaining its value and aesthetics with virtually no upkeep. Its innovative hidden fasteners not only create a seamless, high-end look but also prevent premature wear by eliminating exposed screws and nails that can loosen or cause damage over time.
By choosing blokDEK®, you’re not just building a deck—you’re investing in a long-lasting outdoor space that saves you money, time, and effort while delivering unparalleled performance and style. Enjoy the benefits of a modern, maintenance-free deck that stands strong against the elements year after year.What Our Customers Say

Bonnie A.
Pennsylvania, USAVerified customer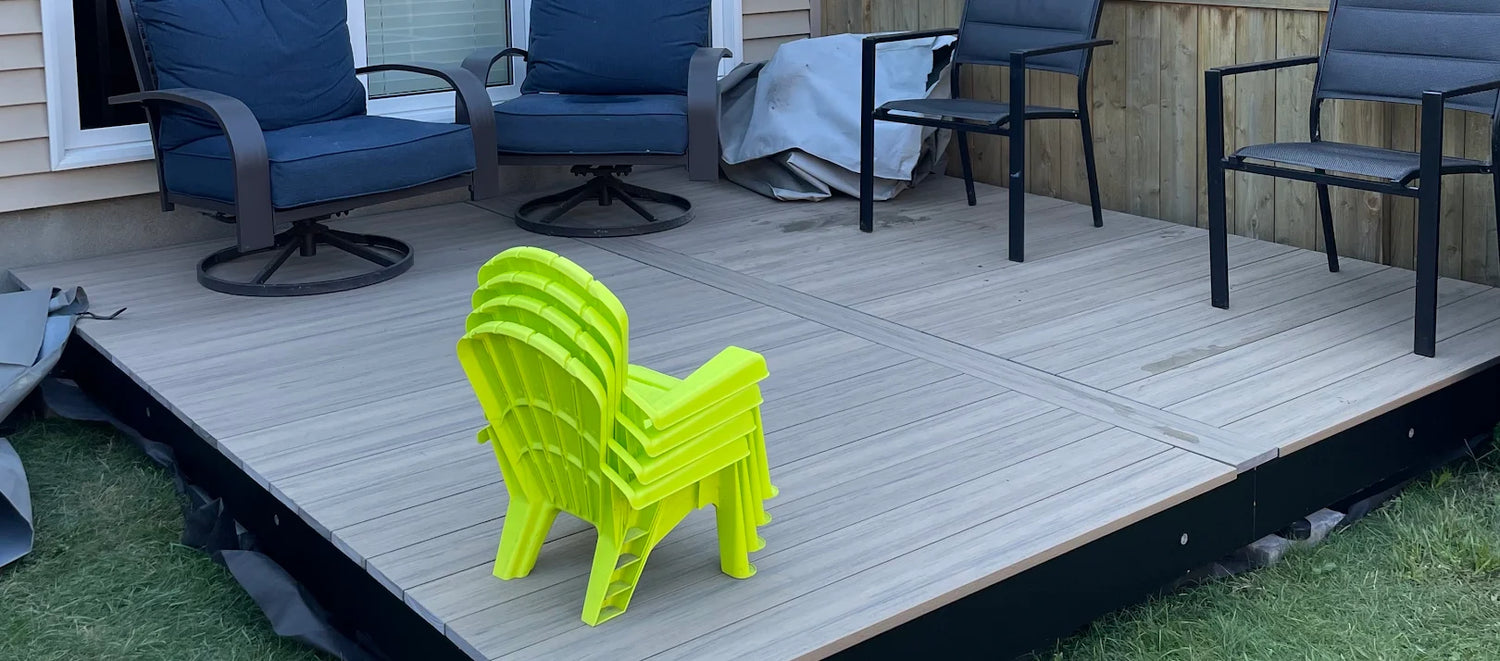
Excellent customer service. The owner Sean was very helpful in answering my many questions. The deck came in 4 pieces and we were able to install it in an afternoon. It’s very solid and stable after levelling with the included levelling feet. I am very happy with the appearance and quality of the deck and wouldn’t hesitate to purchase from blokDEK again in the future.
Read MoreAlyssa D.
Ontario, CanadaGoogle review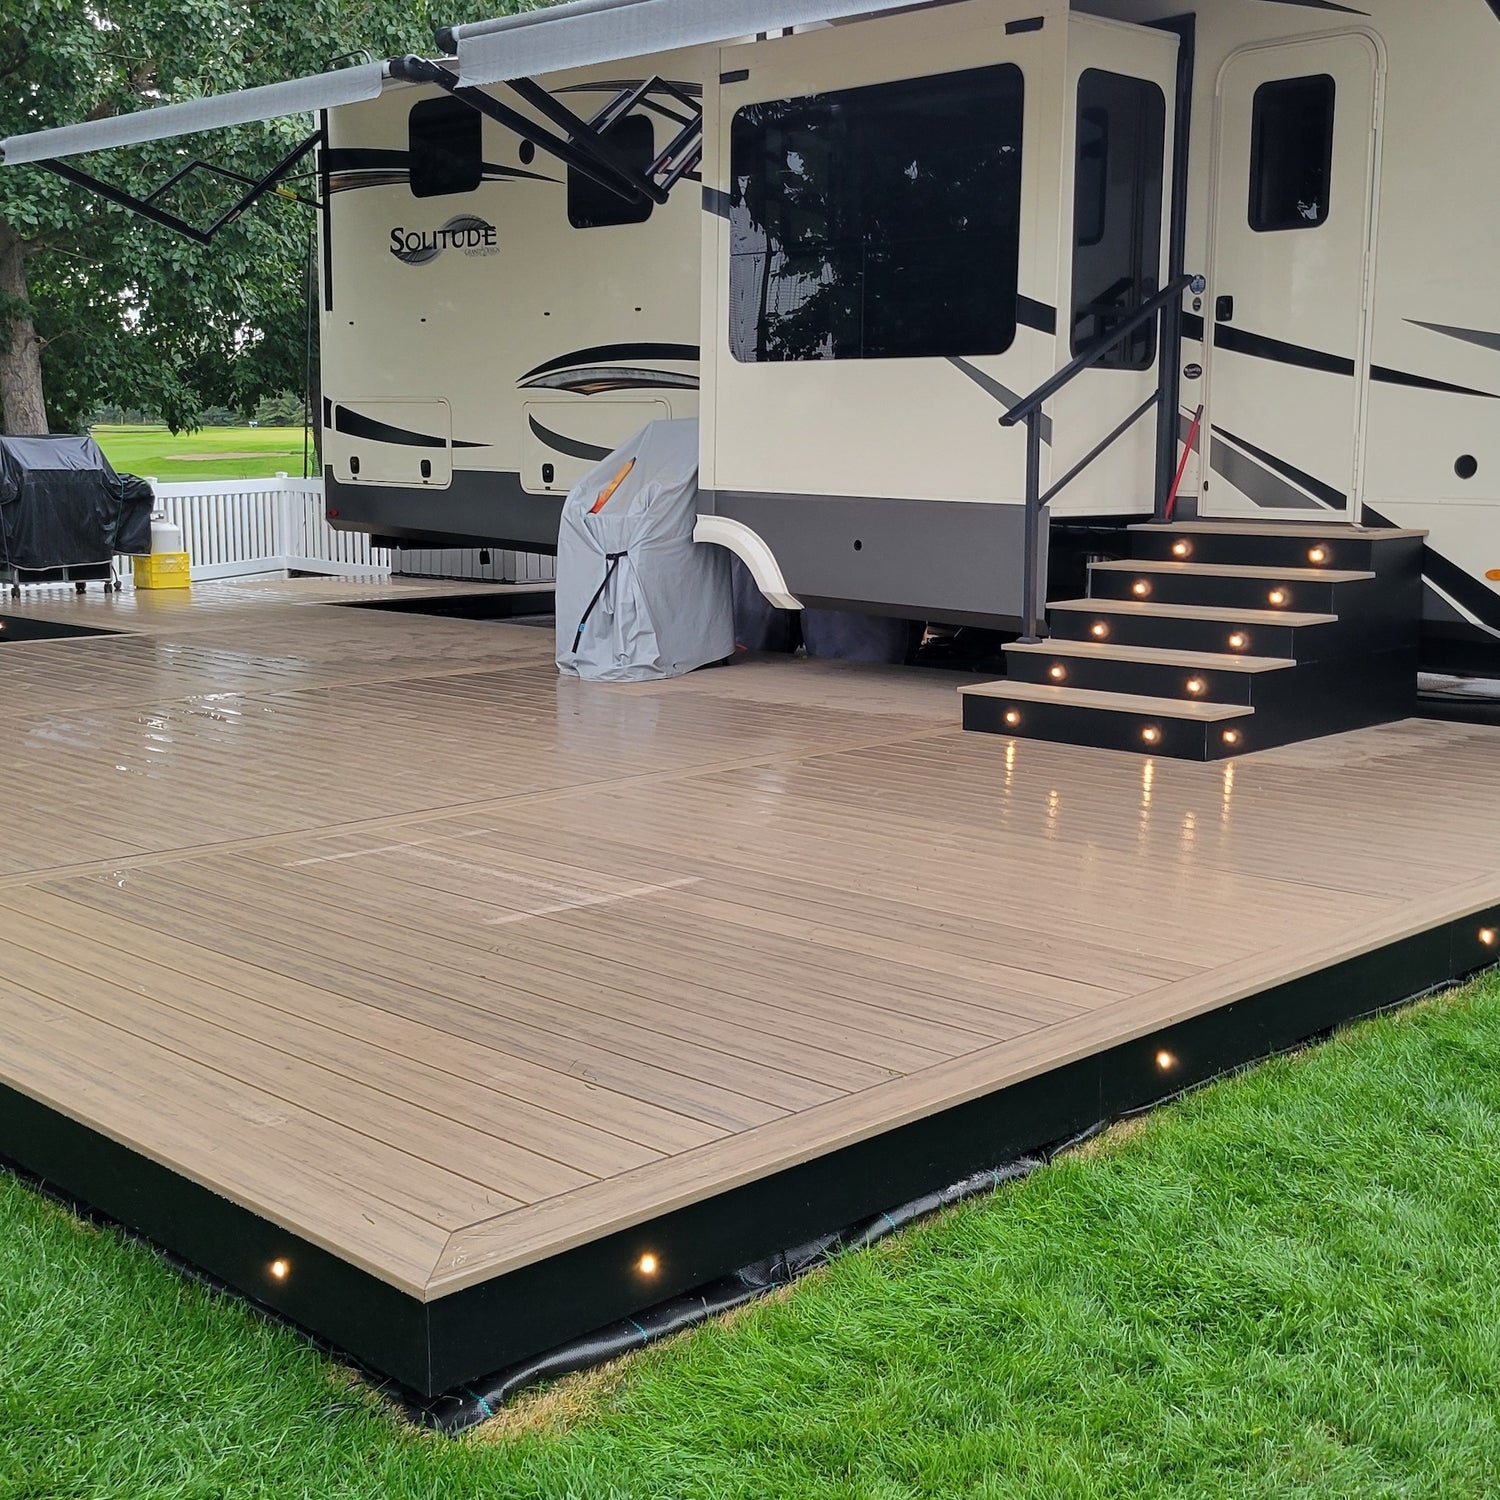
As a result of the aluminum deck frames being pre-built, the assembly of the deck took no time. We absolutely love our new deck and have had many positive comments regarding it.
Read MoreBen S.
Alberta, CanadaVerified customer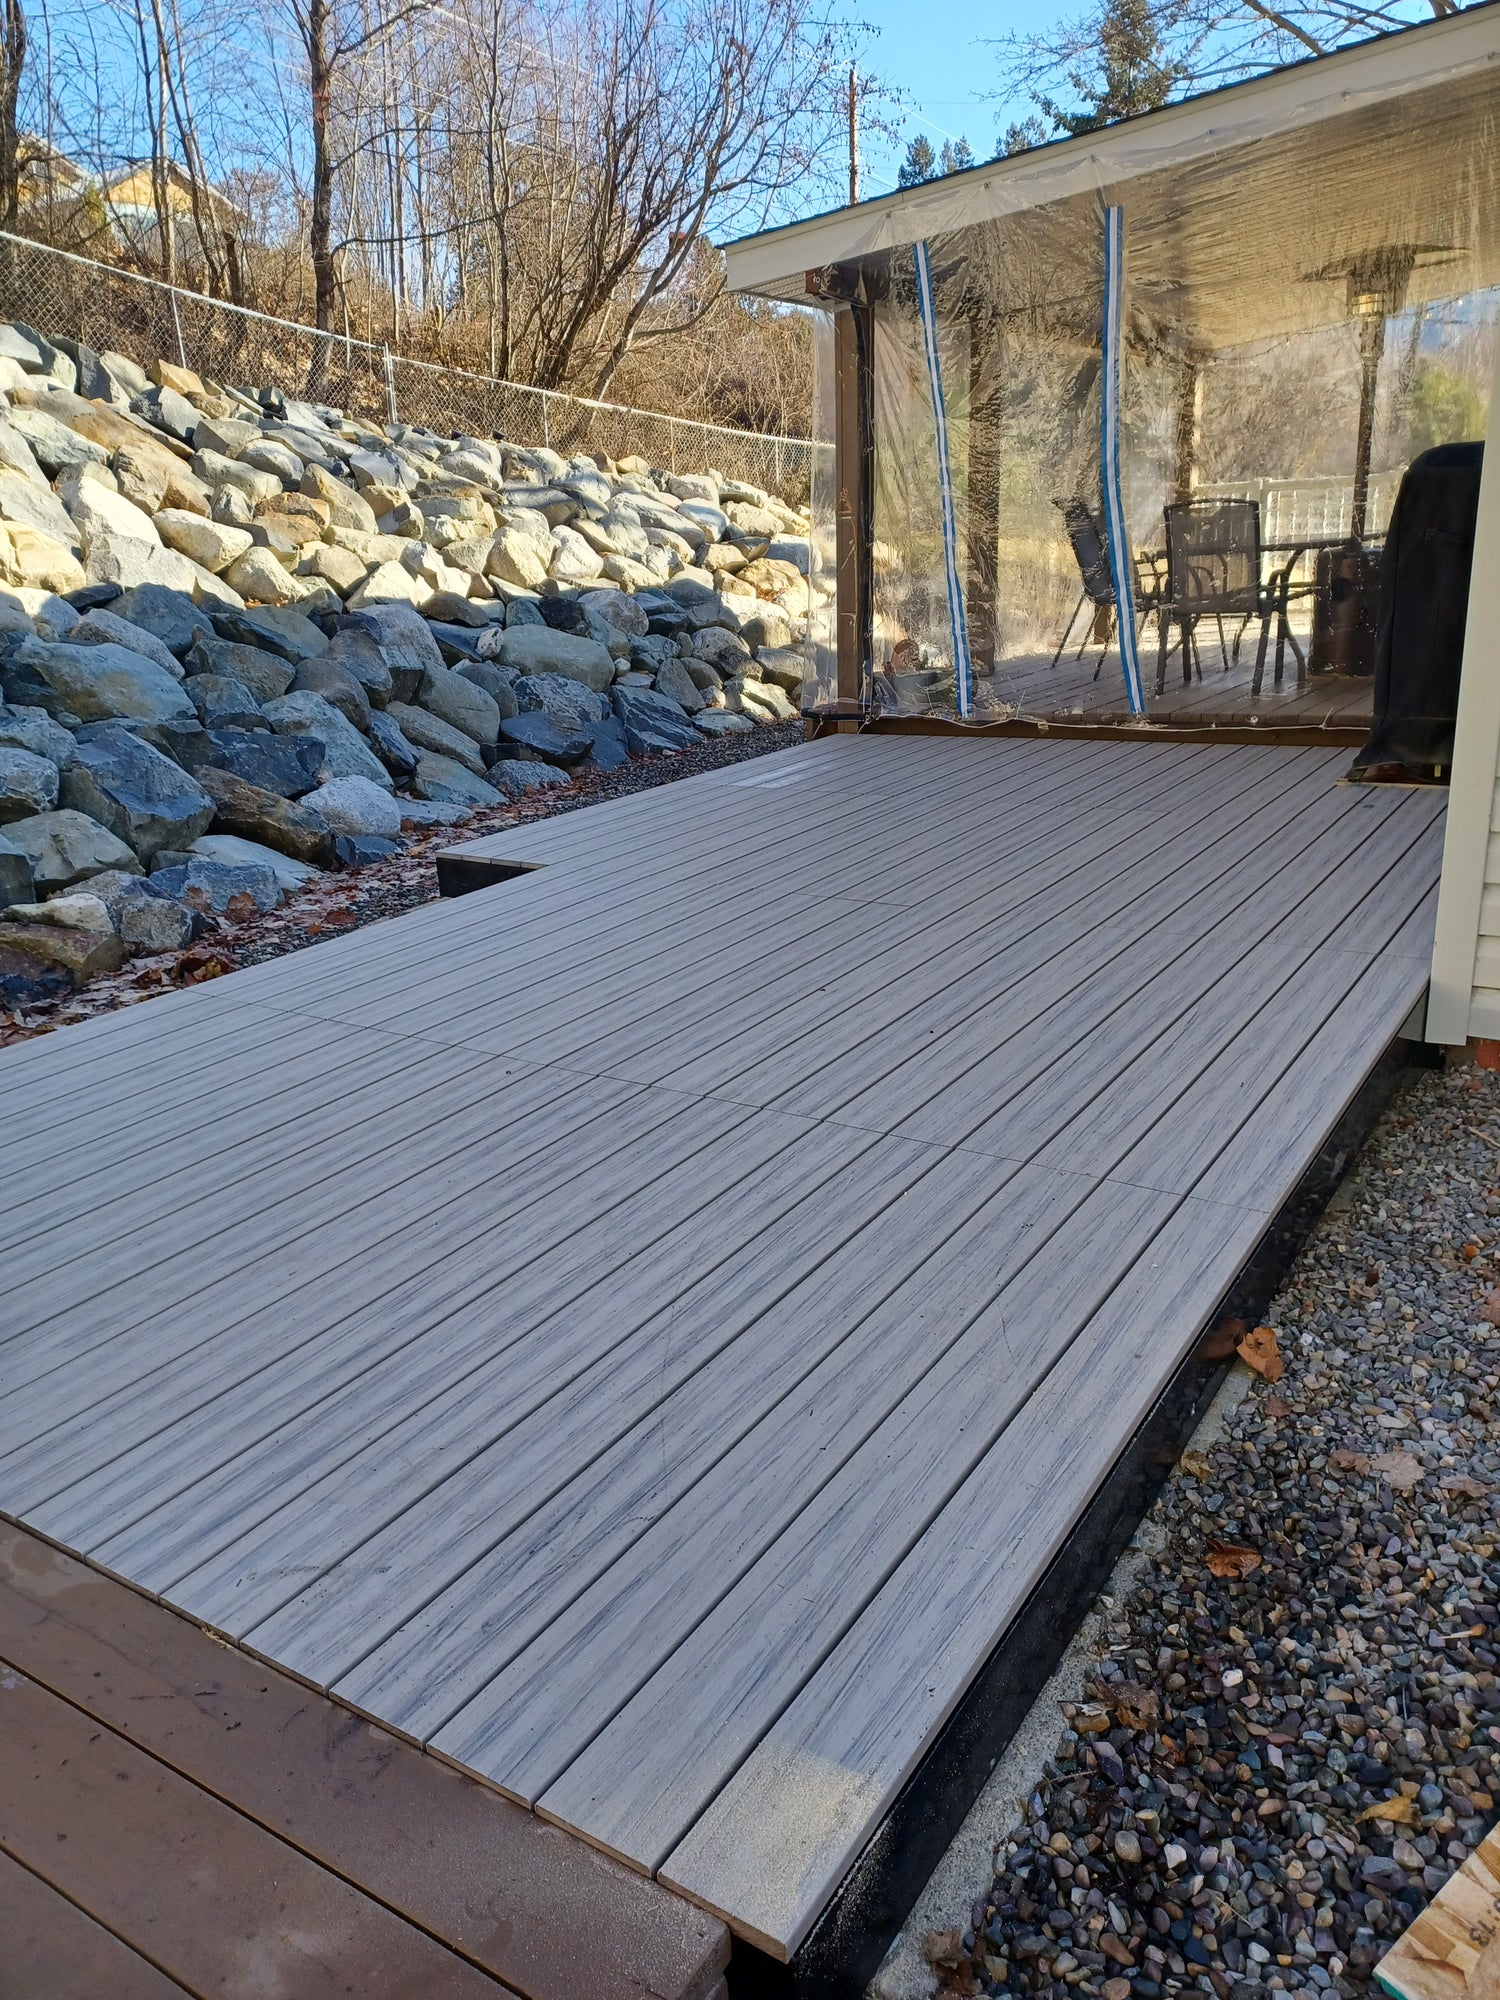
This is one of the best companies I have dealt with. I wanted an "L" shaped deck, and after ordering, I received a shop drawing to approve. The deck arrived as promised on 2 skids, well packed. The the instructions were clear, and I also recieved a drawing showing the layout of each part. It was a breeze to set out, but you have to take care to level the frame properly, as this is critical. The deck panels the just lay into place, and clip down as you stand on them. The deck looks fantastic. I would recommend BlokDek® to anyone, no hesitation.
Read MorePaul H.
British Columbia, CanadaGoogle review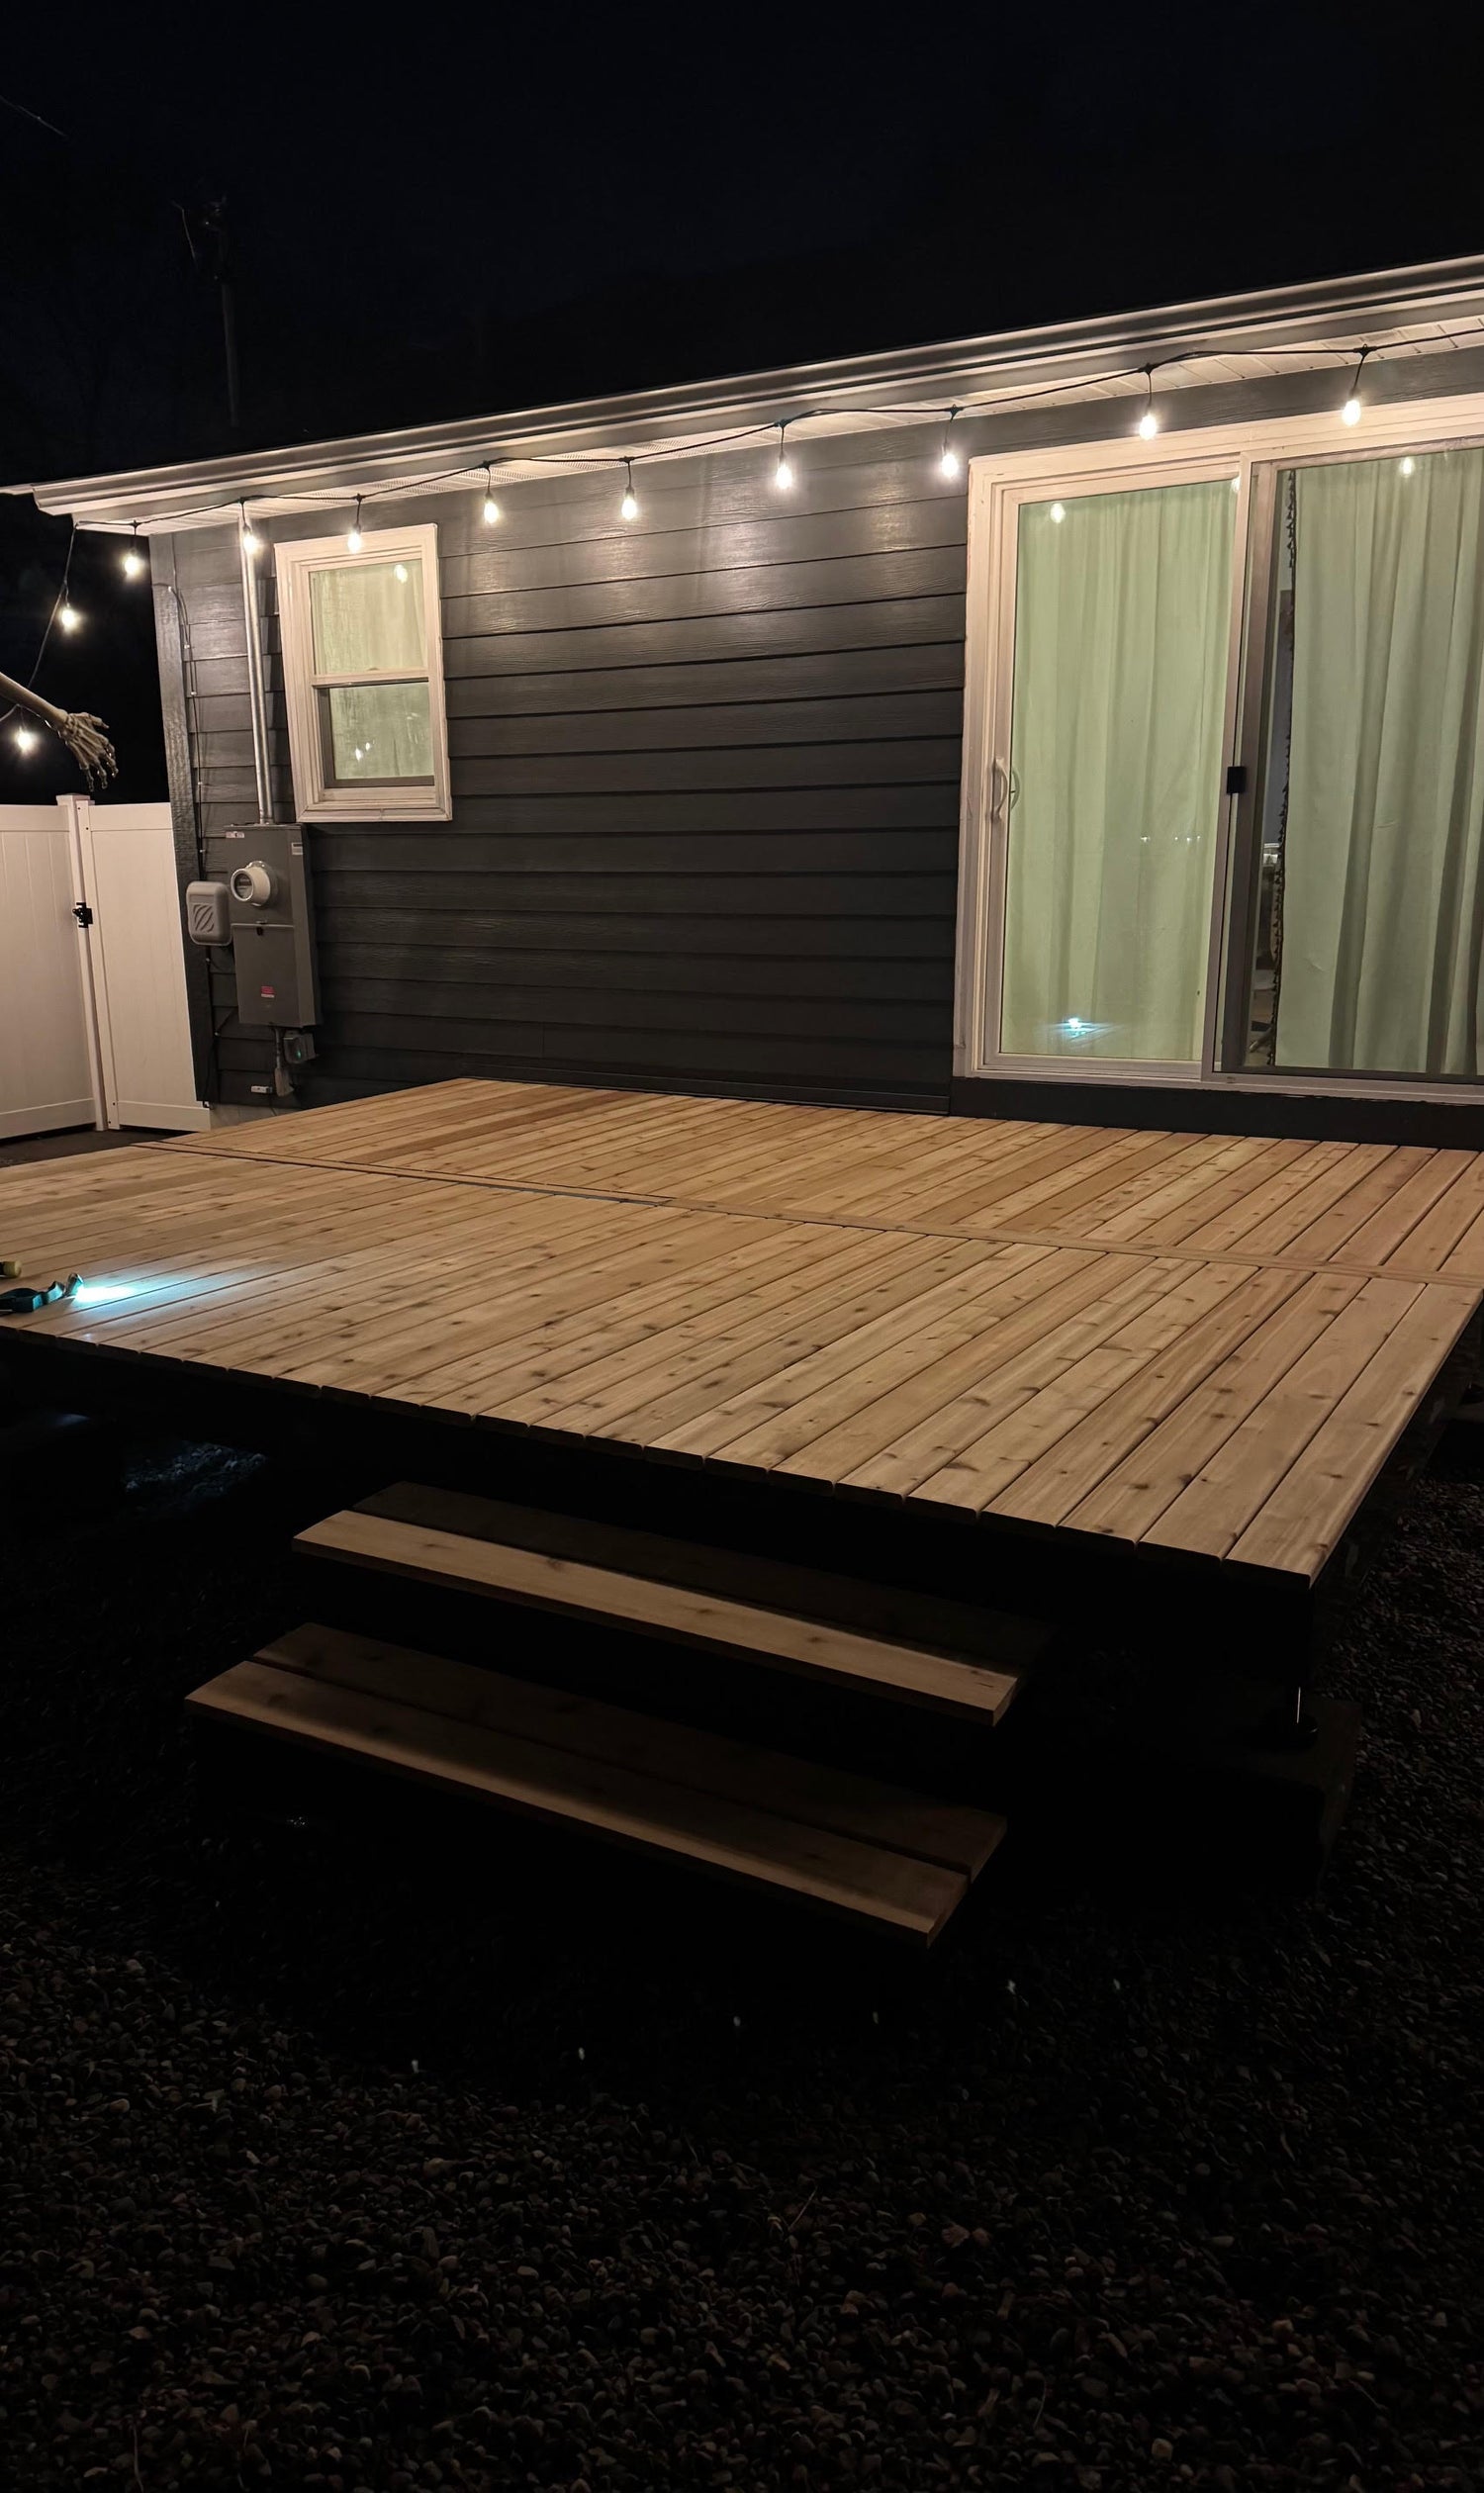
The deck has been a lifesaver for us and the pups. We absolutely love it.
Read MoreBrittany S.
Minnesota, USAVerified customer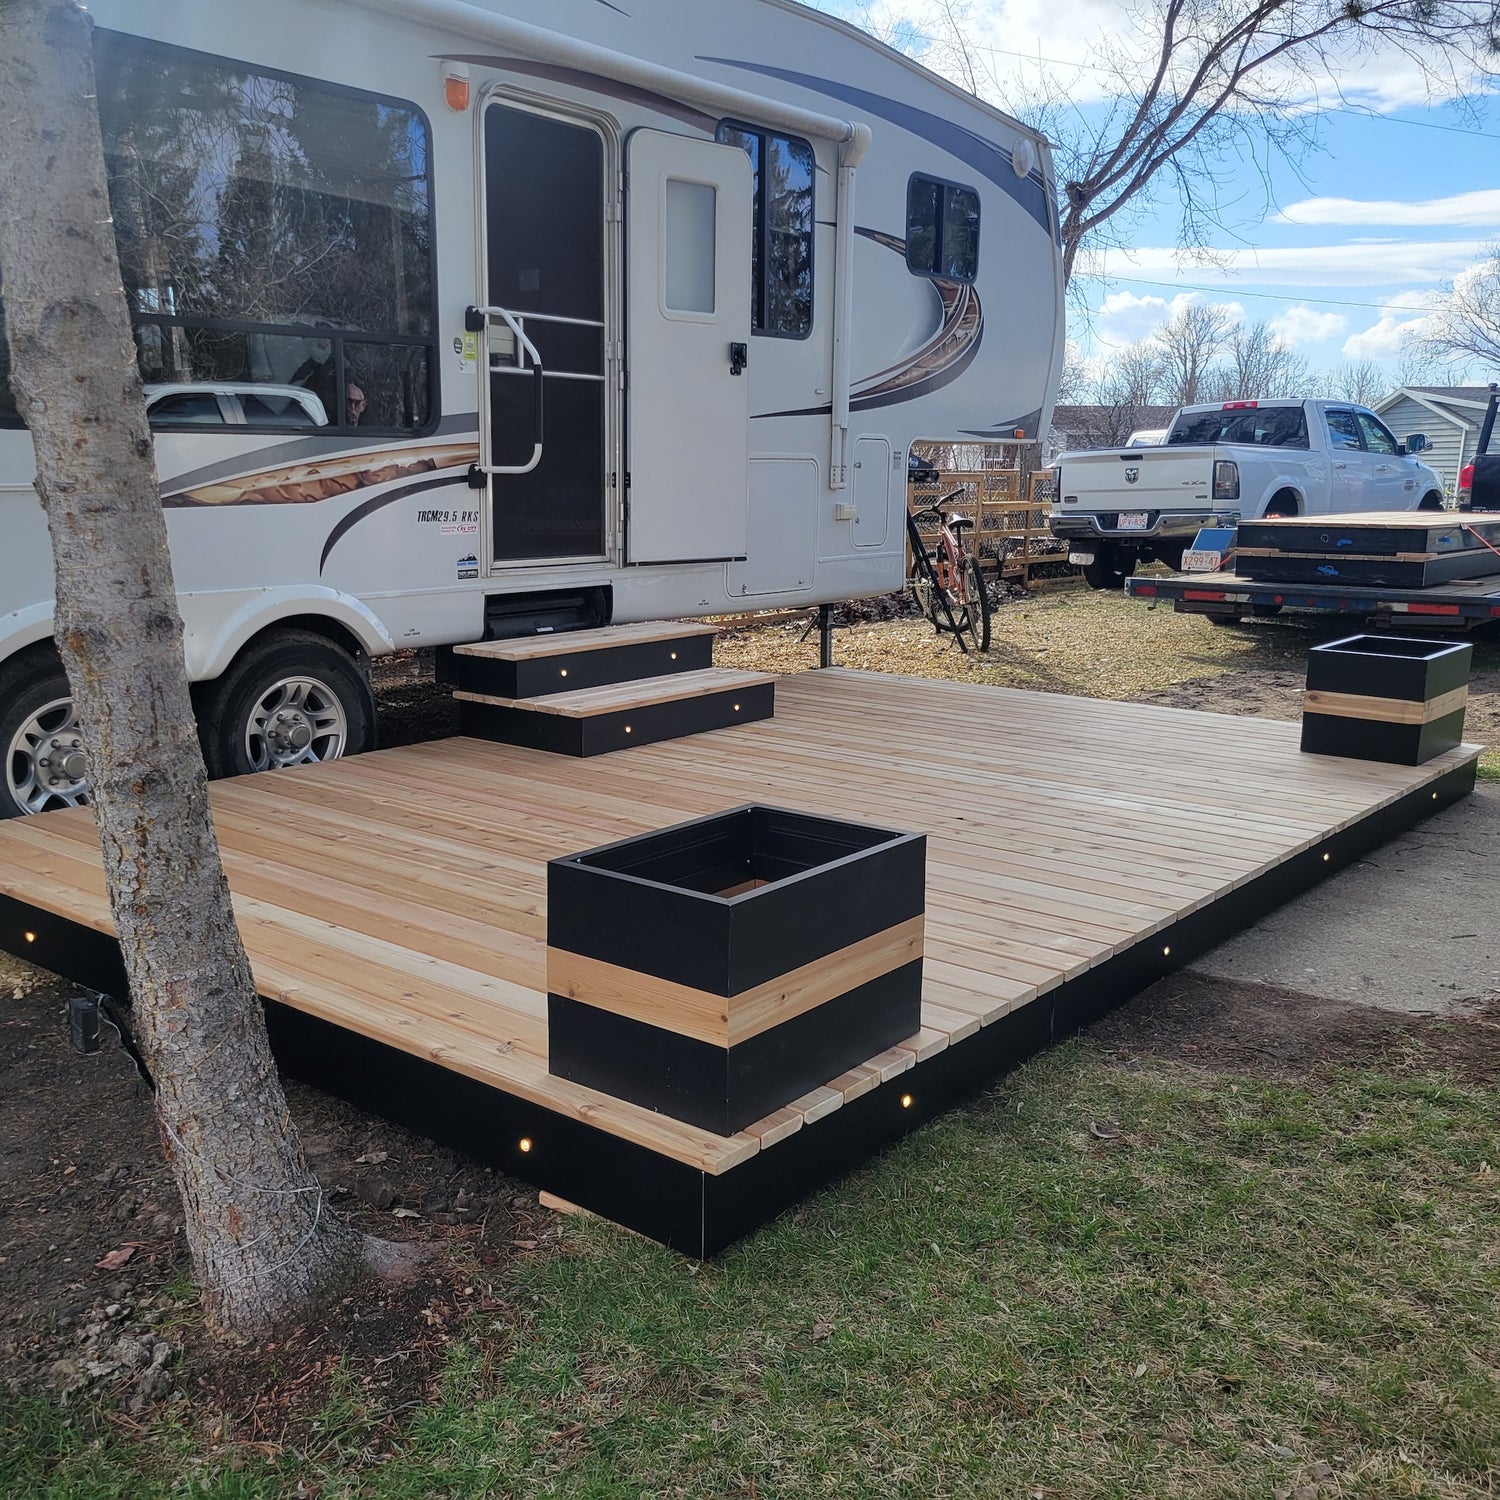
We were thrilled with our new metal framing. Replacing a rotten wooden deck with something that will last as long as we need it to.
Read MoreKaren M.
Alberta, CanadaGoogle review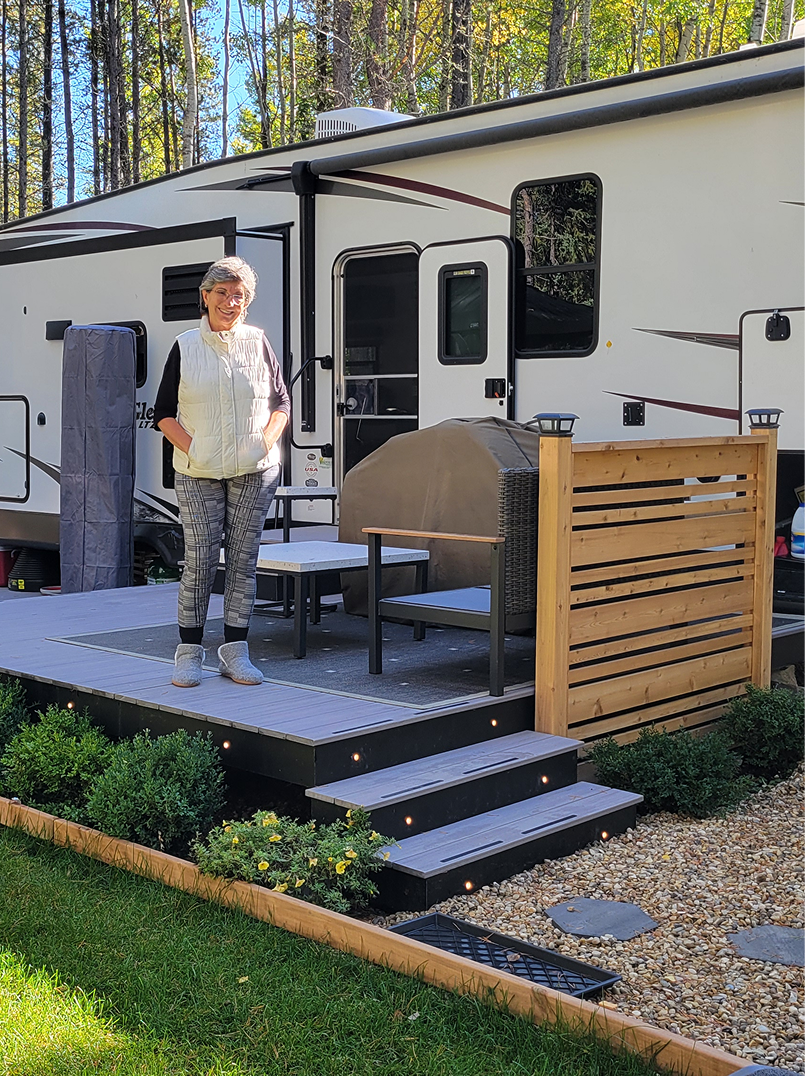
Thanks for a great product and terrific customer support.
Read MoreLuz H.
Alberta, CanadaVerified customer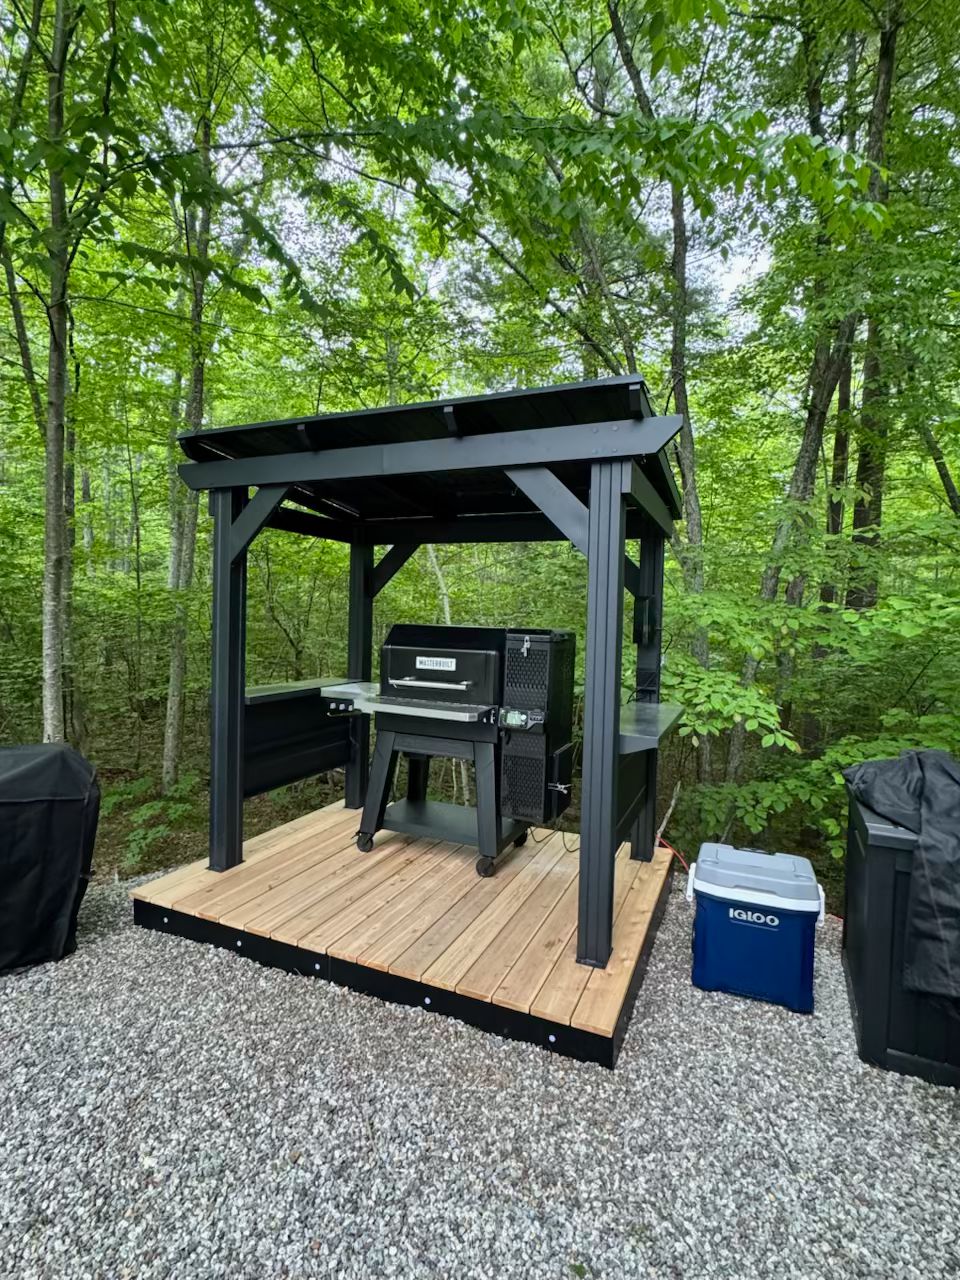
We wanted a great-looking deck ready for a birthday party we were hosting. It arrived the morning of the big day, and thankfully, my husband was able to put it together in just a couple of hours—just in time for our guests to arrive!
Read MoreMelissa A.
Connecticut, USAVerified customer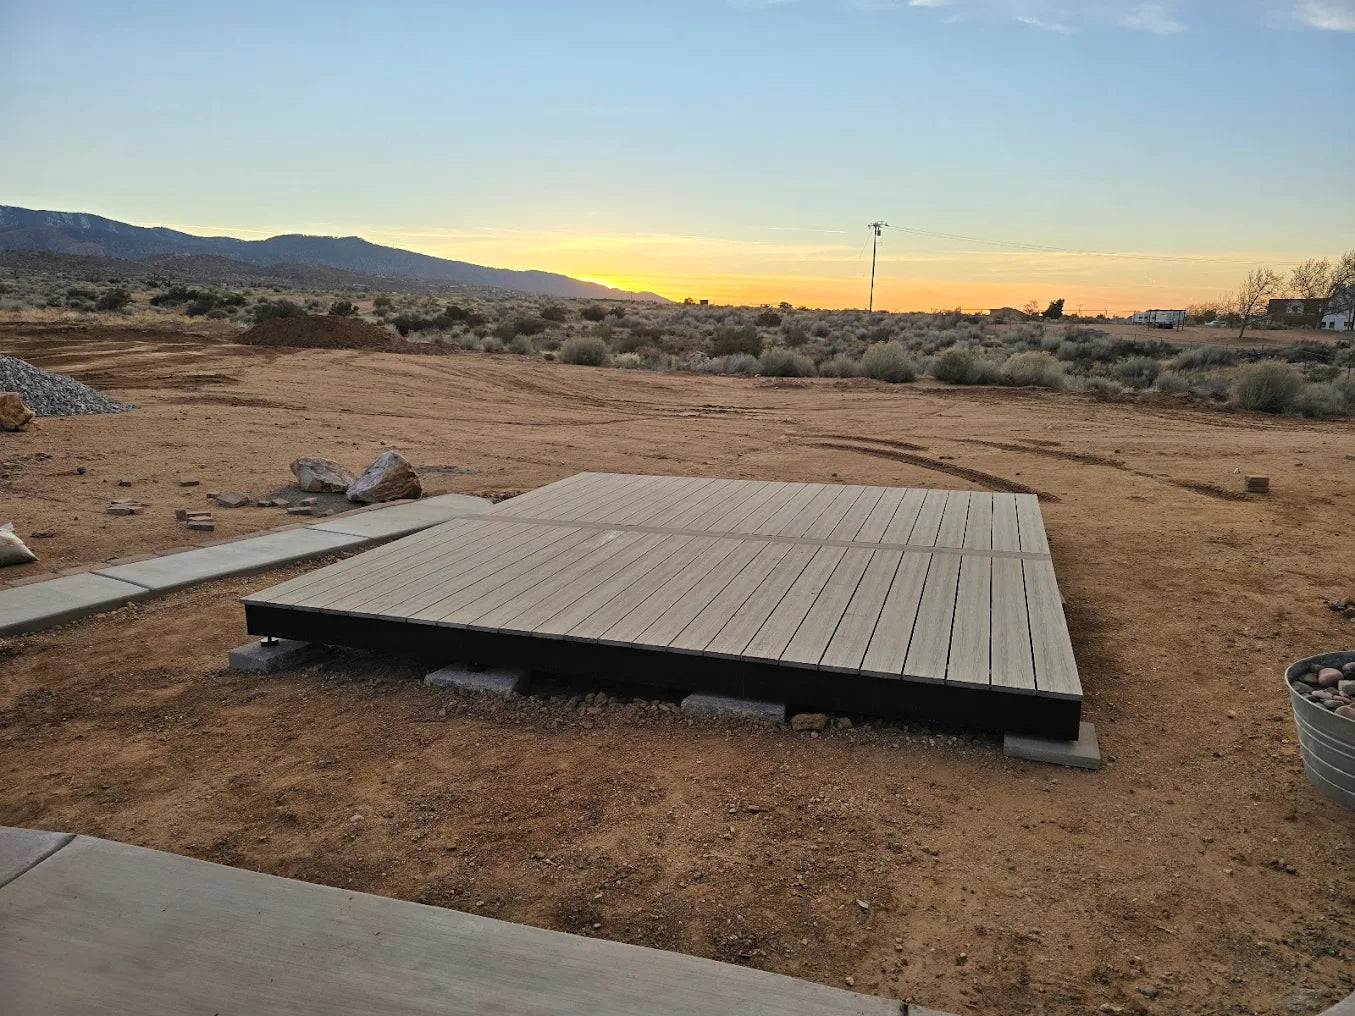
Purchased a 12x12 composite deck. Couldn't be happier. We needed portable deck for area in front yard and needed access to the space underneath. Went together smoothly. Haven't sat on deck as my kids have claimed it for a dance floor. From Sunny California! Thanks
Read MoreRandal G.
California, USAGoogle review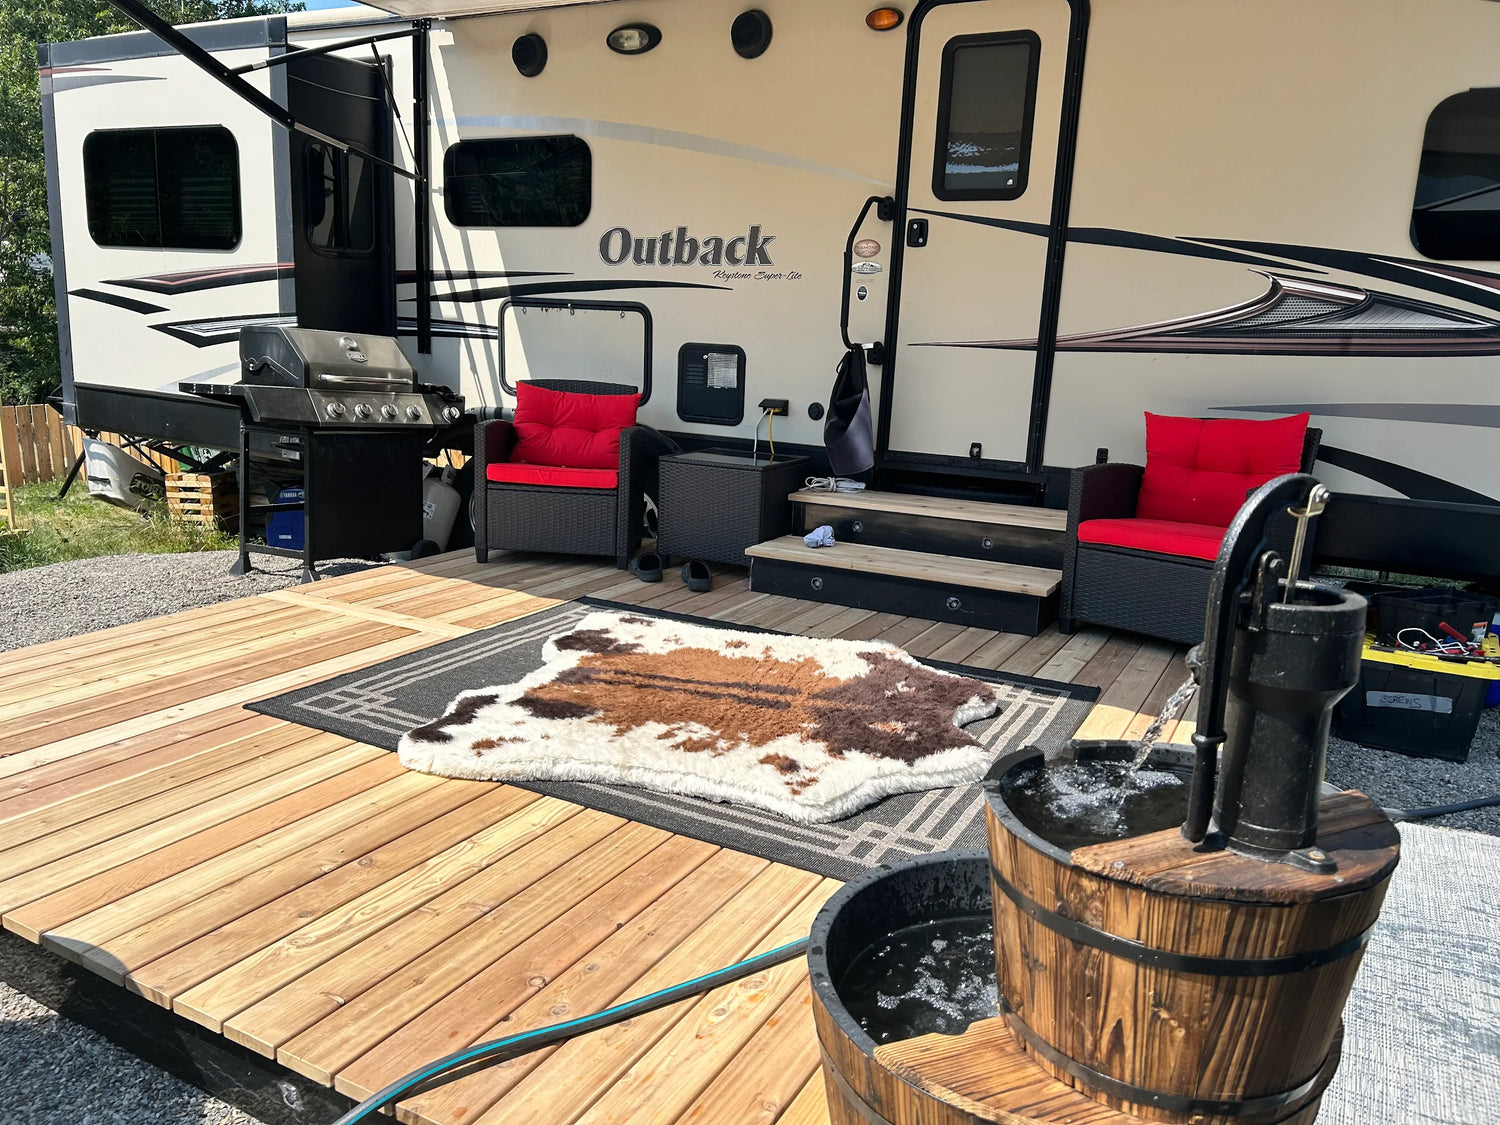
Great service, easy to install and good quality! Met all deadlines and I highly recommend!
Read MoreAudrey K.
Alberta, CanadaGoogle review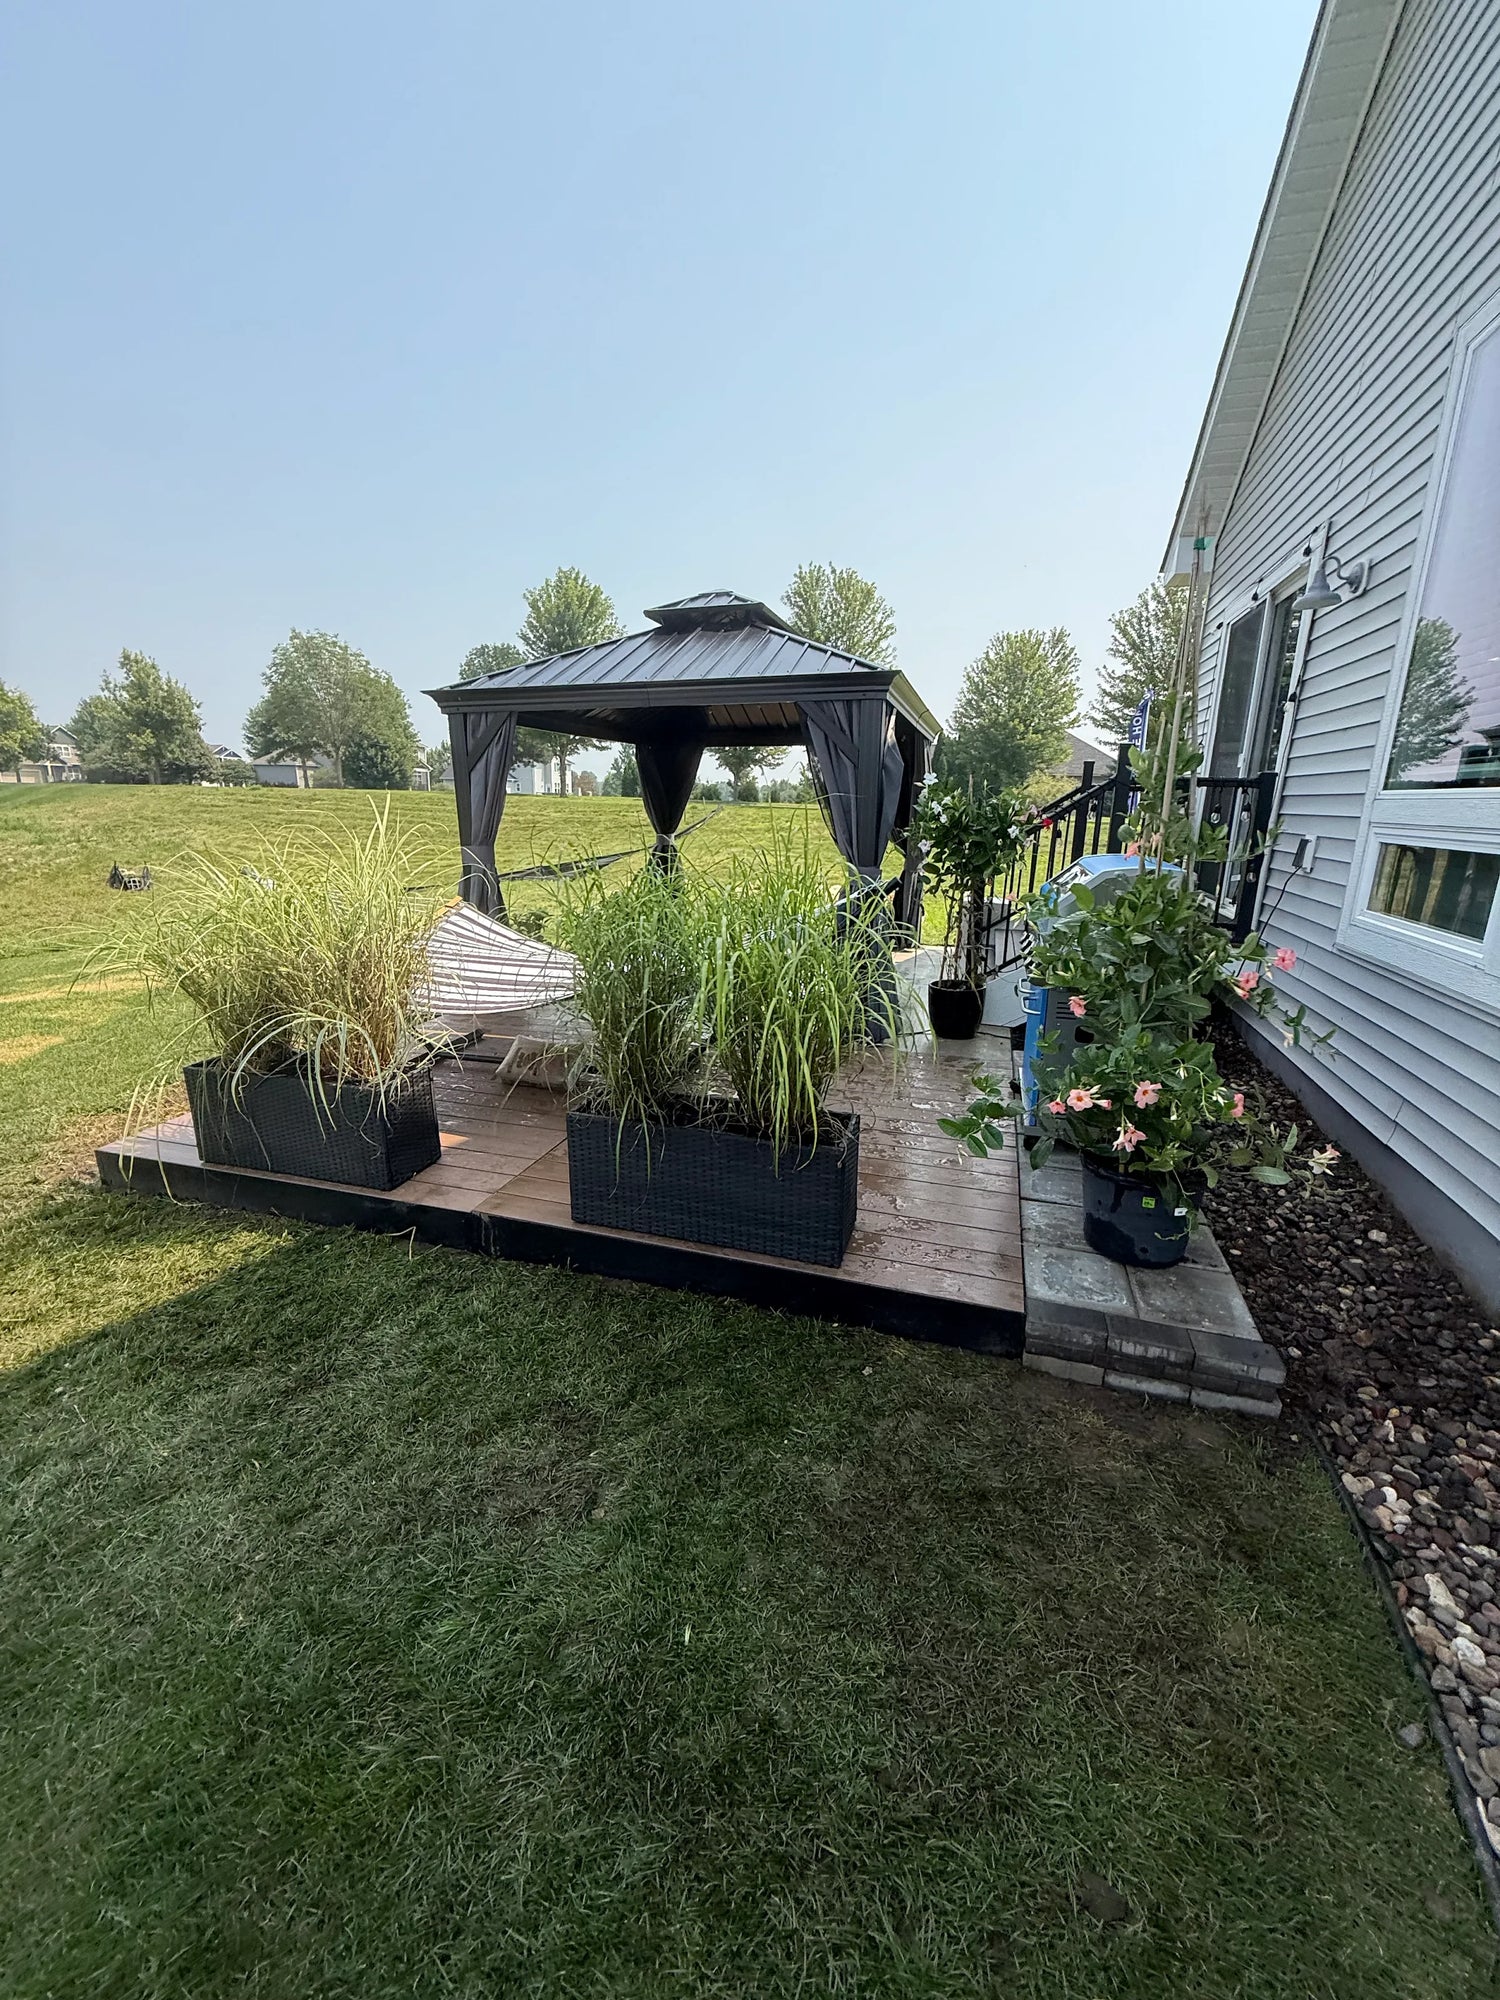
Happy with the product. I looks really slick in my back yard and took less than an hour to straighten all of the panels out perfectly.
Read MoreCarli H.
Minnesota, USAGoogle review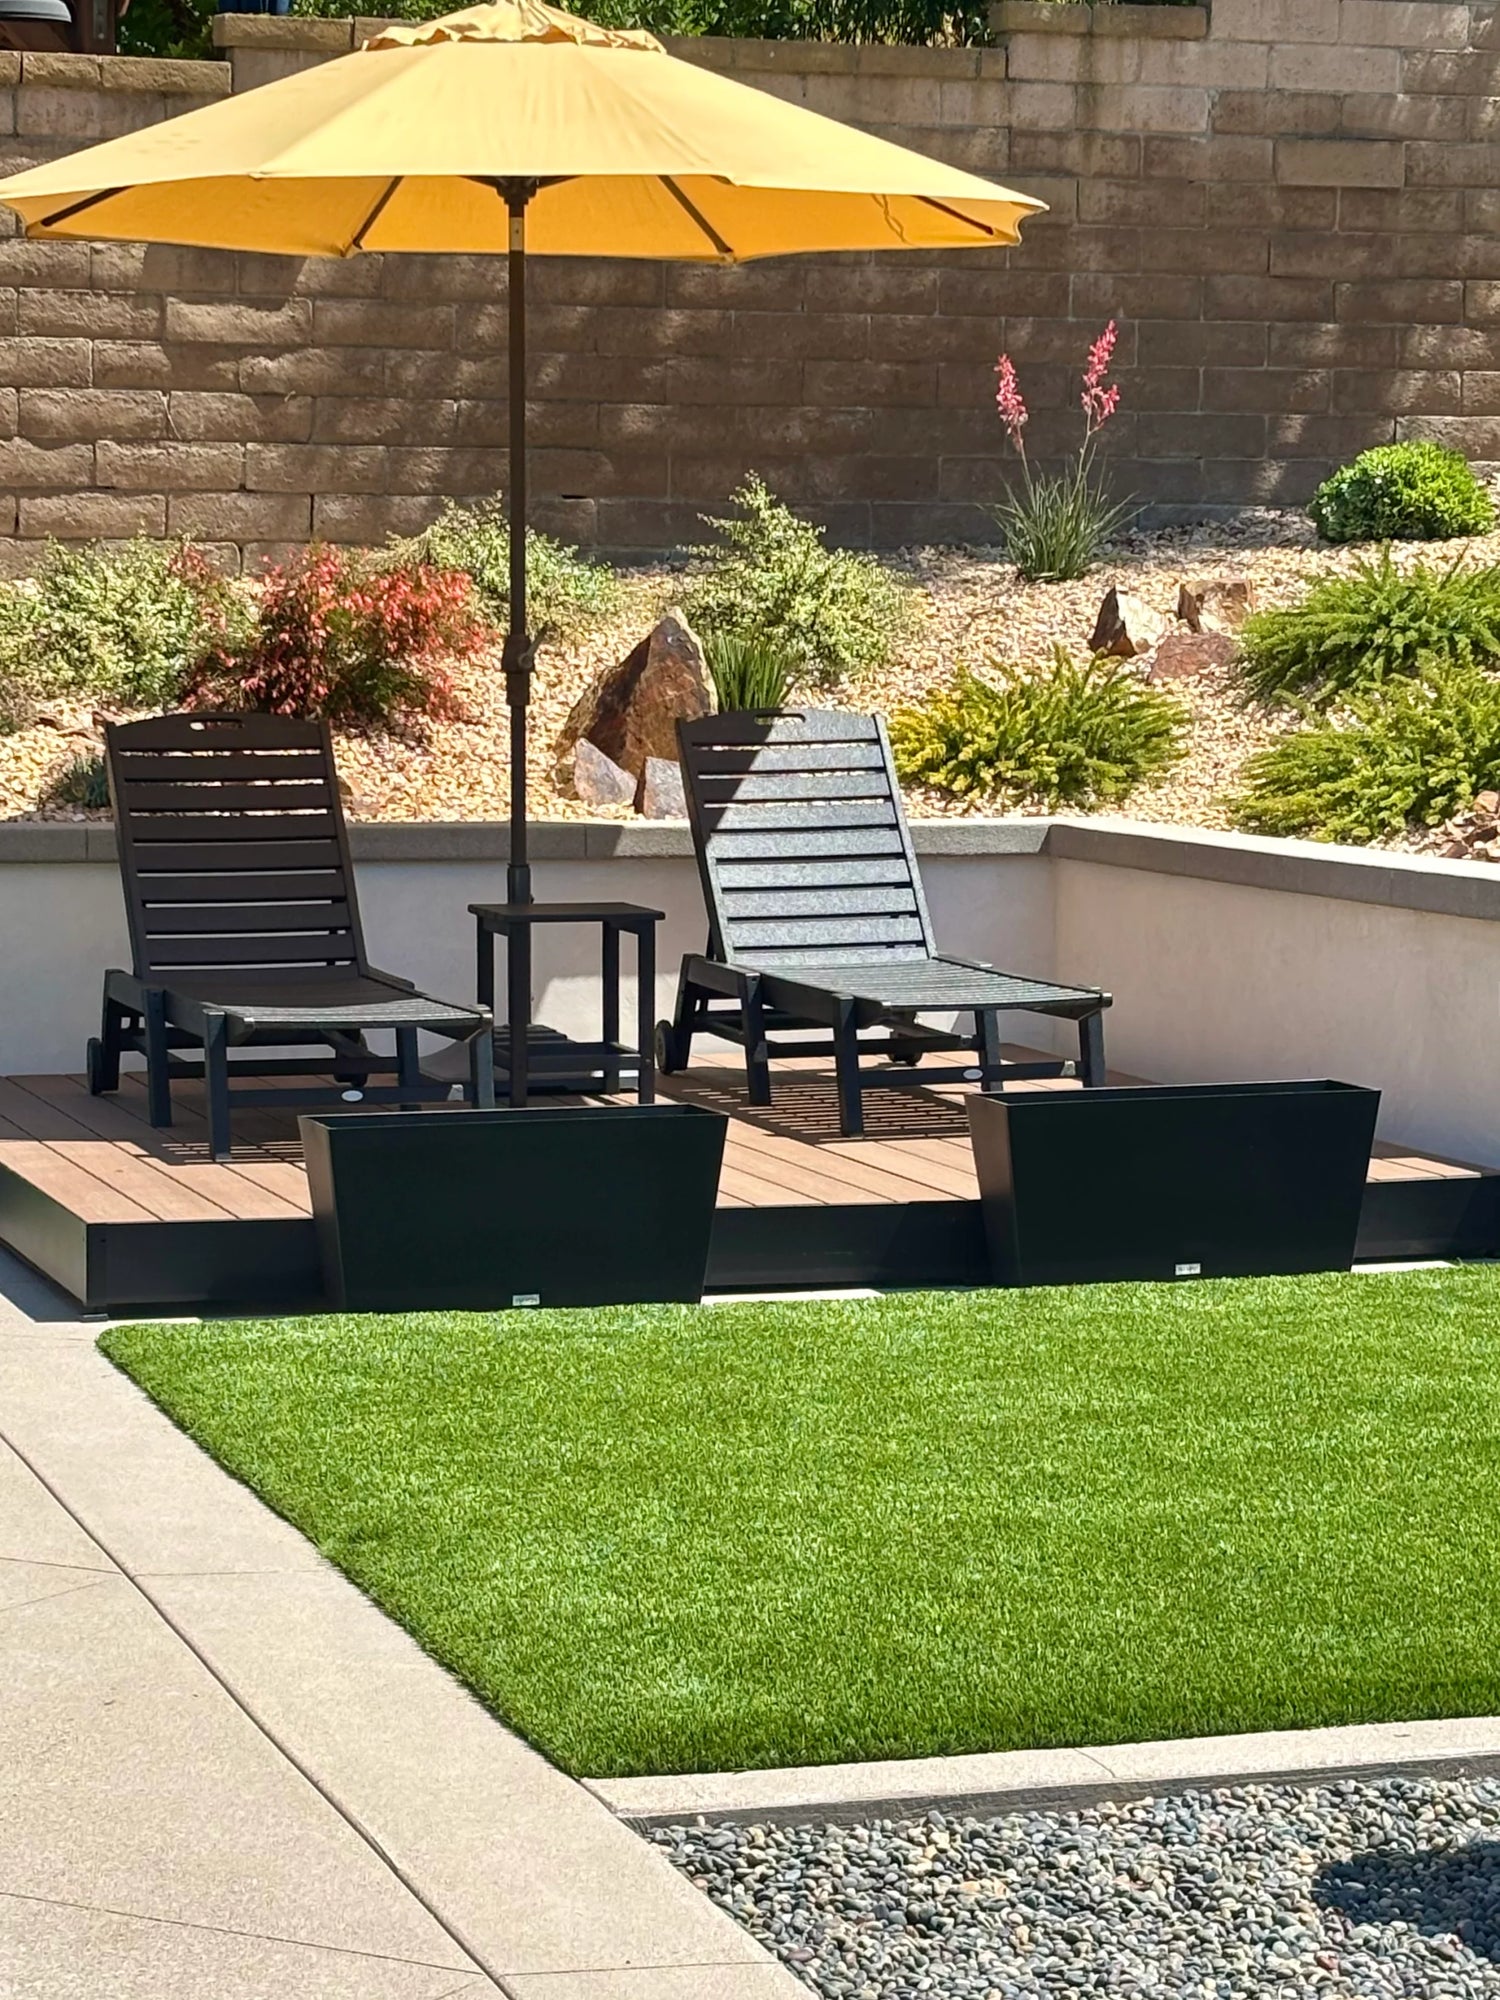
Awesome product!! Love the finished form and functionality. We did have difficulty in fastening the 6 frames utilizing the pin connections on our 10’x10’. However, at the end of the day it was worth the sweat! Thanks BlokDek
Read MoreJoyce S.
California, USAGoogle review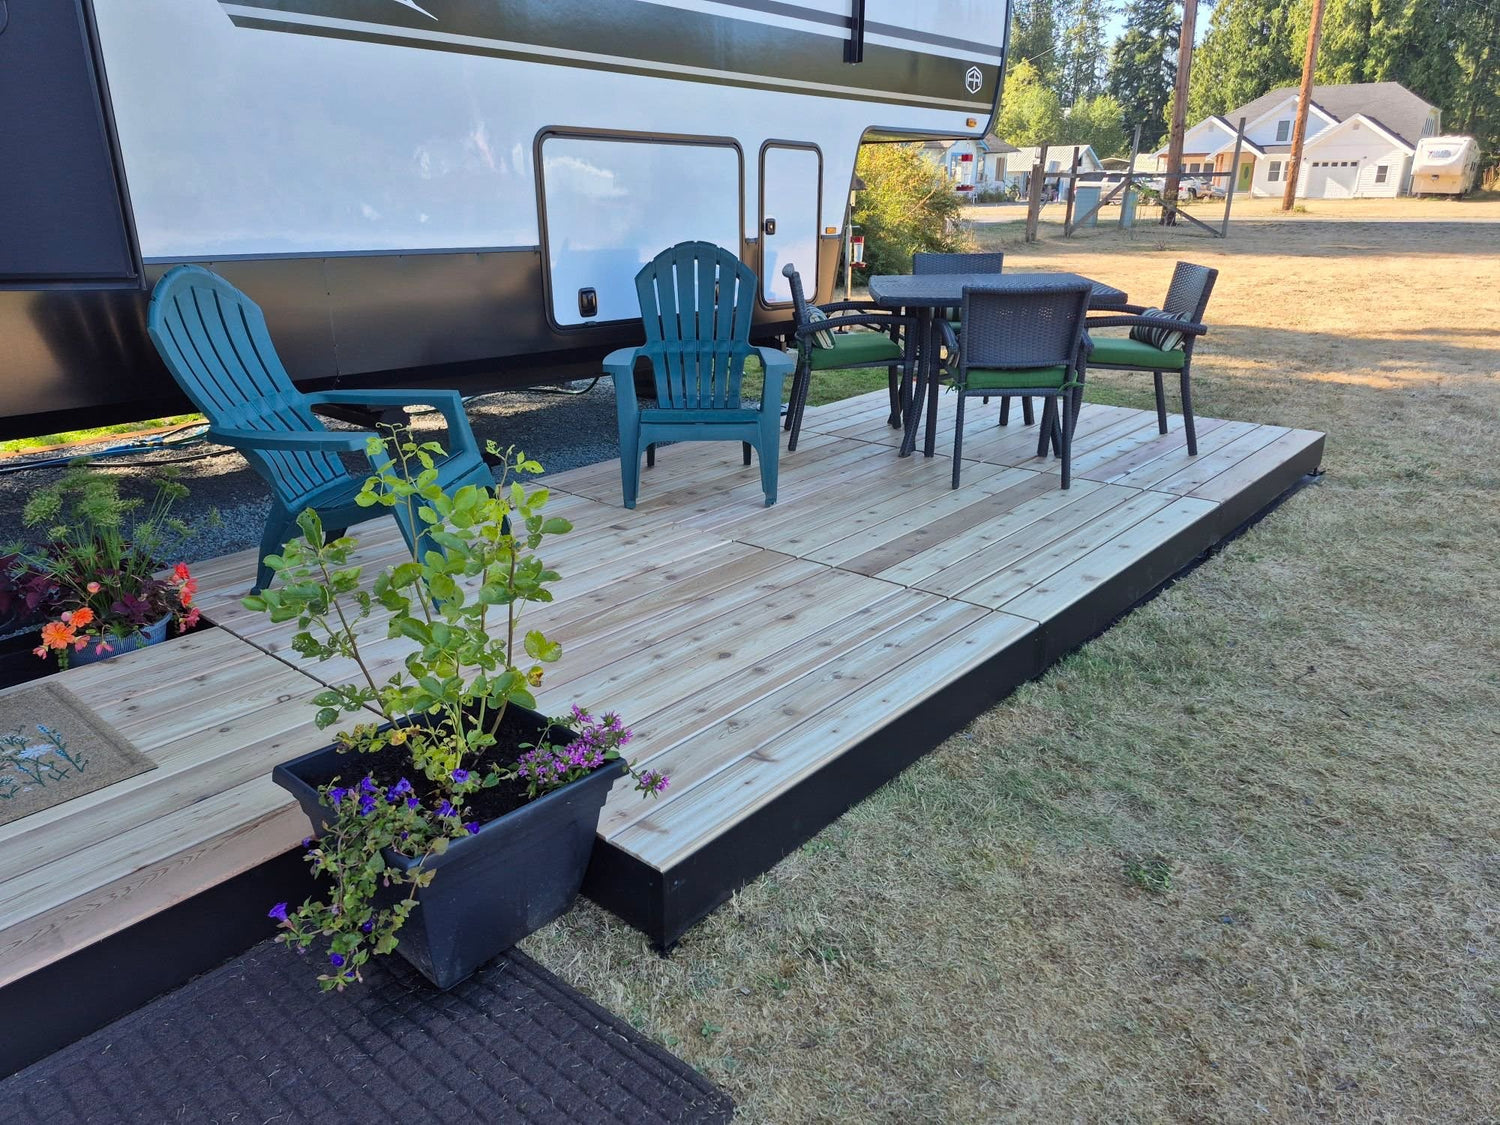
Amazing customer service and our BlokDEK is beautiful for our 5th wheel. We love it. I would recommend them.
Read MorePeggy H.
Washington, USAGoogle review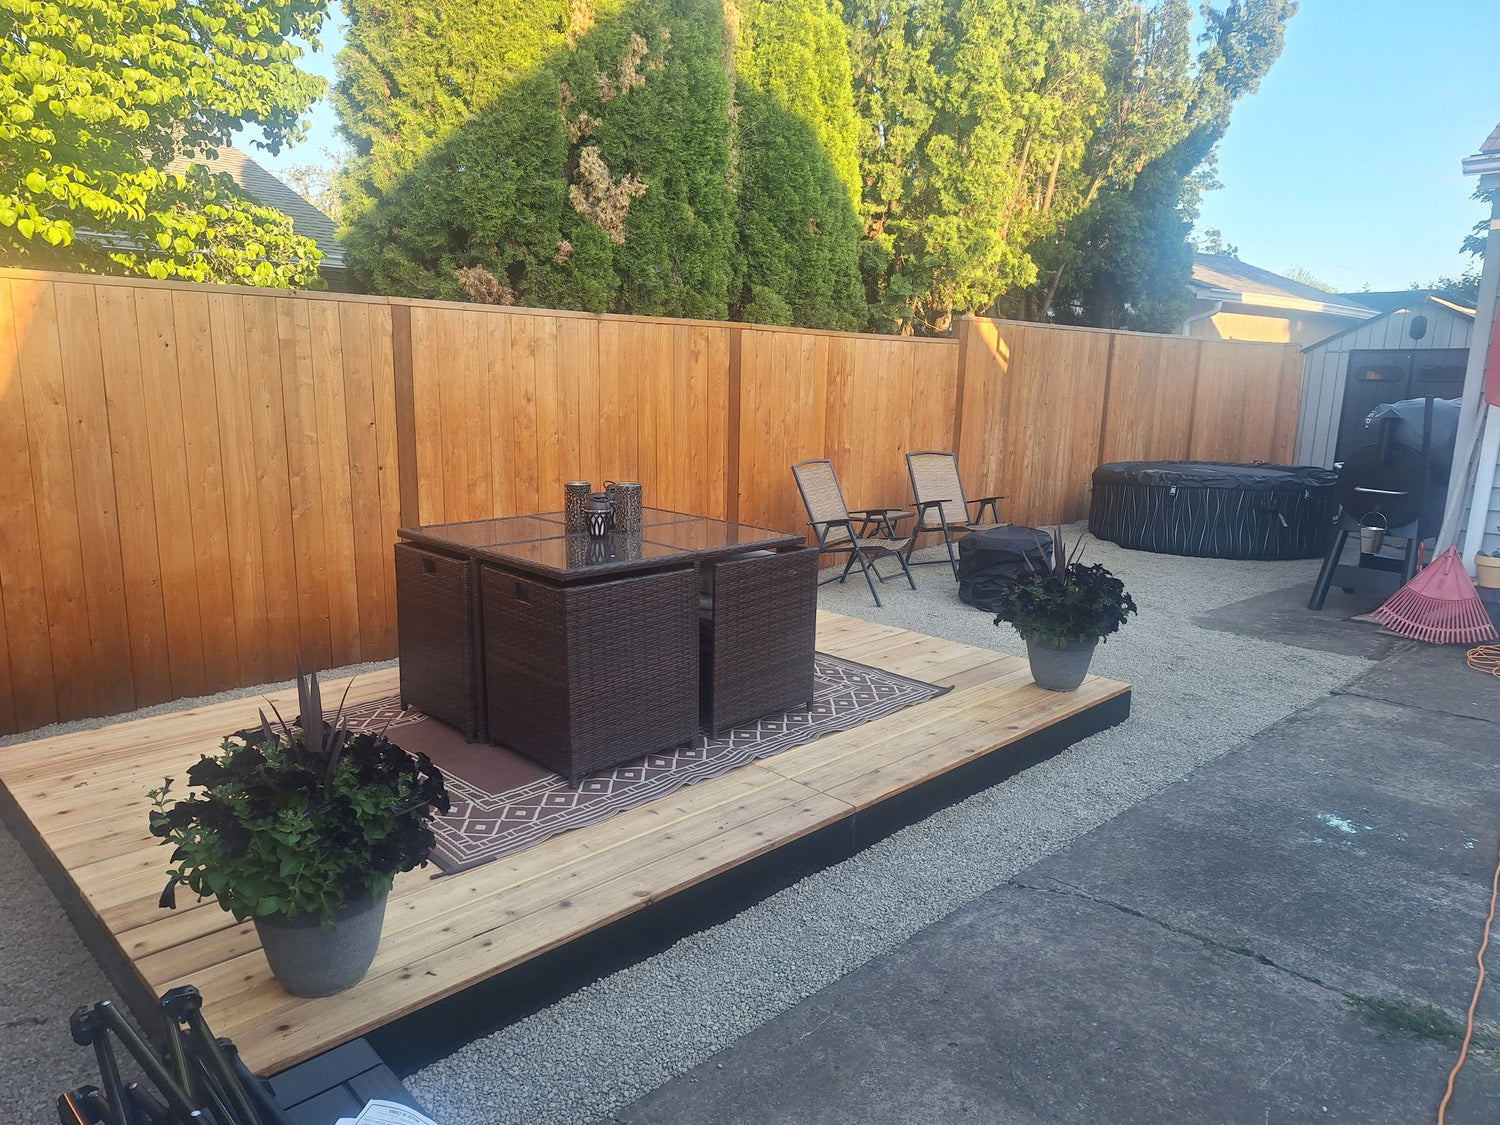
A girlfriend and I put this deck together! How good does it look?! Super happy with my purchase!
Read MoreBrittney Z.
Oregon, USAVerified customer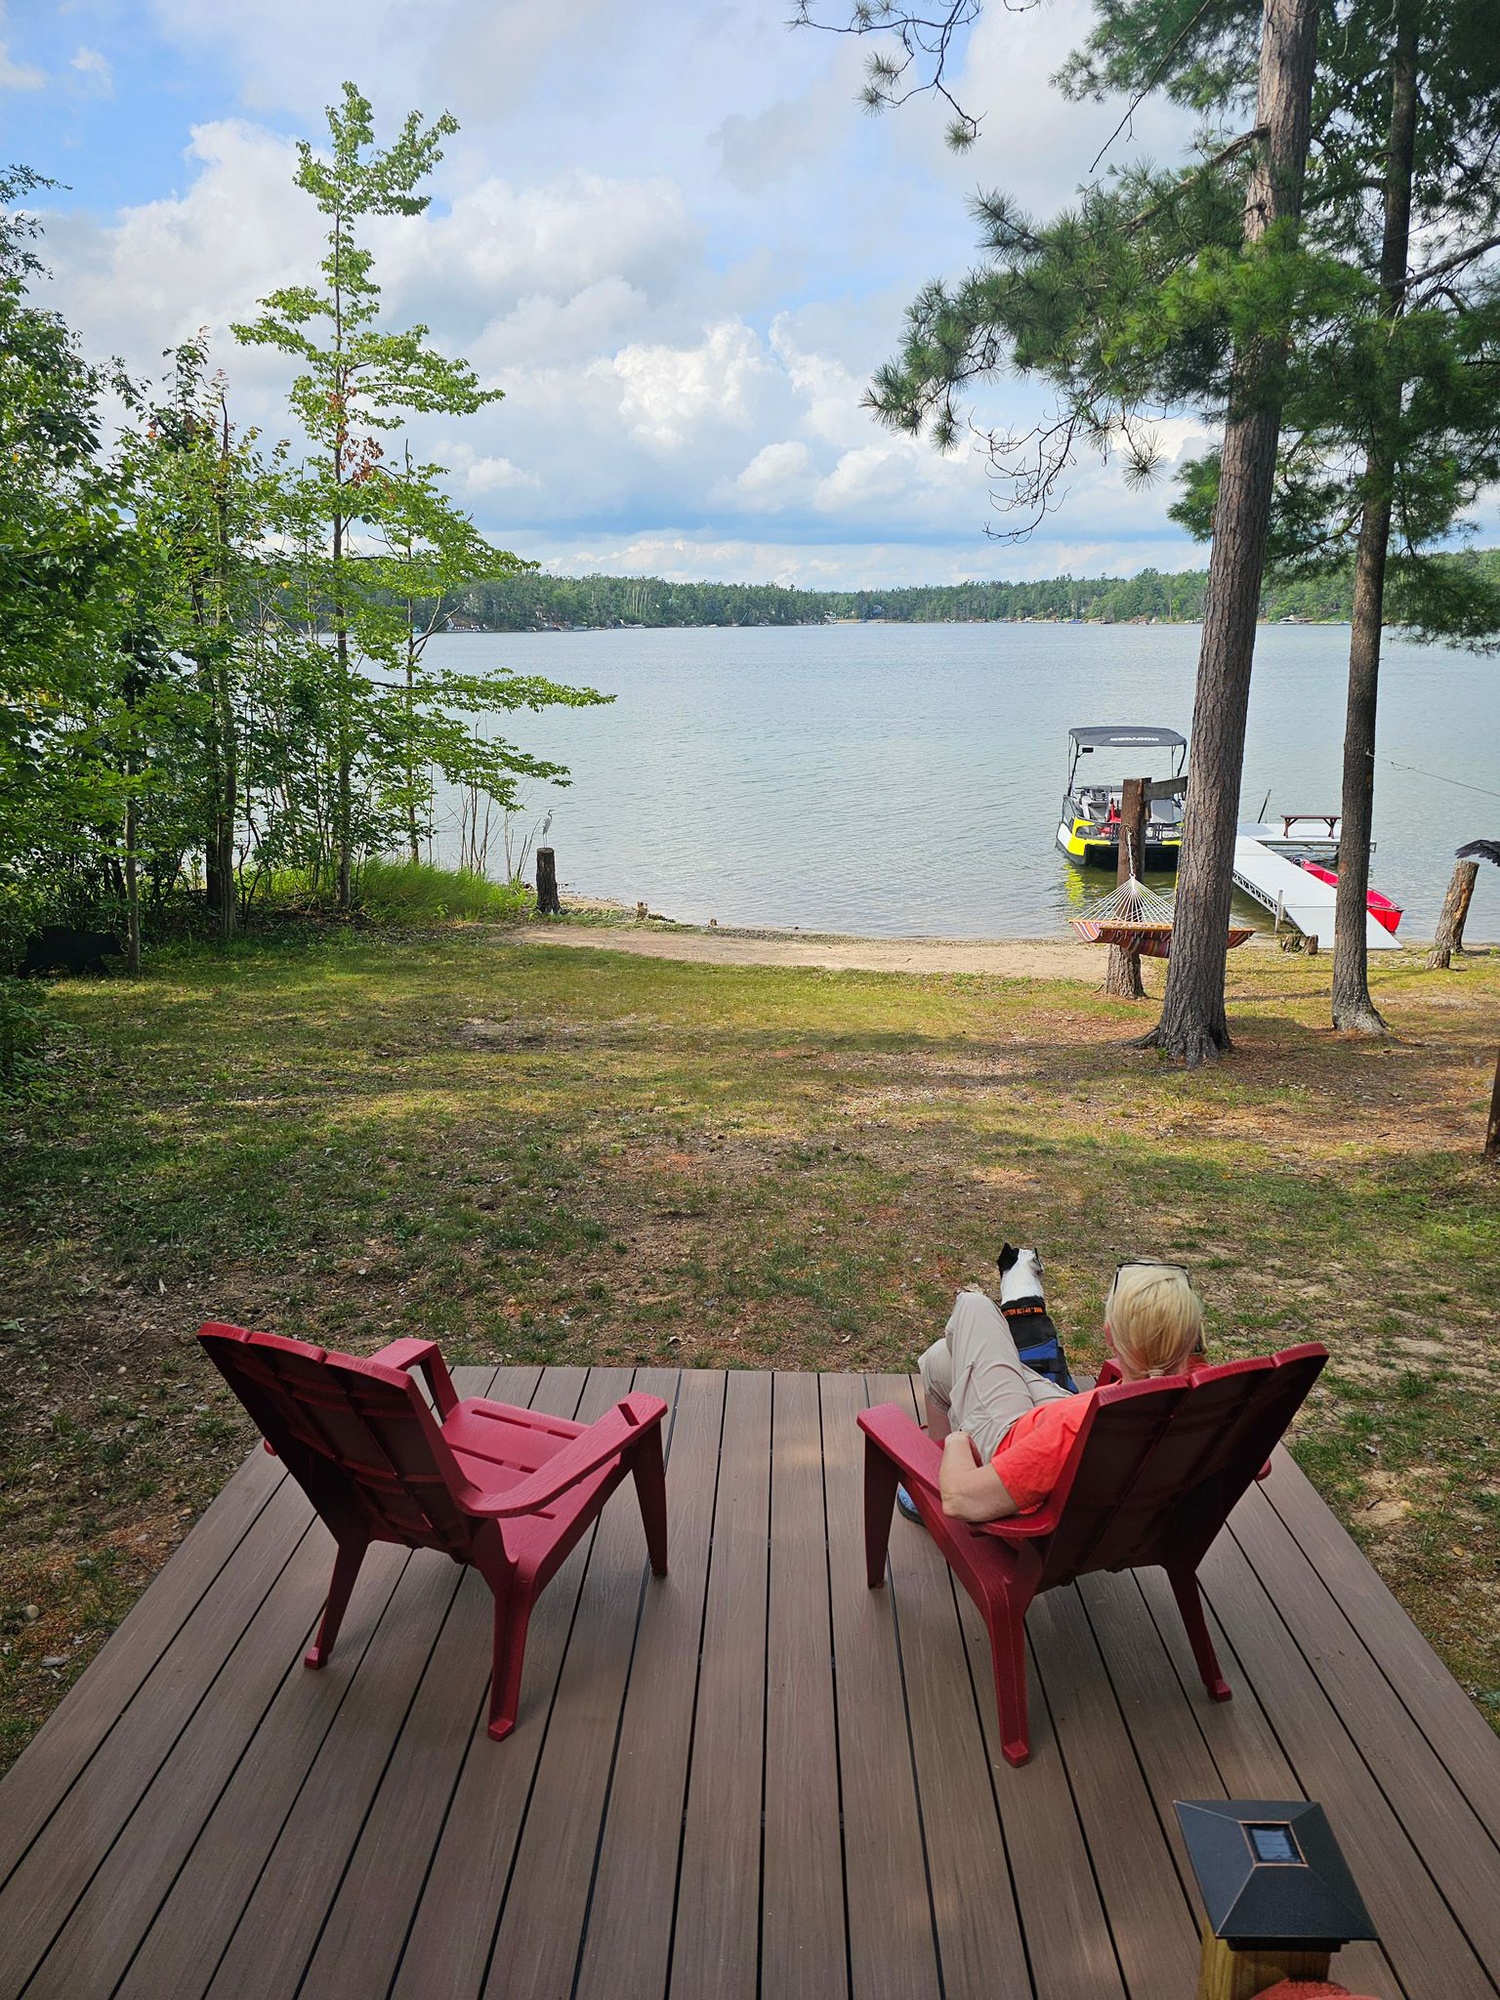
Got the deck this morning and set it up already. We will be ordering another one next summer to replace the lower wood deck we have. Thanks again for all your help!
Read MoreBill Y.
Michigan, USAVerified customerFrequently Asked Questions
Can I really do this myself?
Yes! We have many customers who are amazed at how easy the process was to install their new blokDEK® deck, many with no experience at all.
Does everything I need to build my blokDEK® arrive together?
Yes. We ship all the components you need to complete your blokDEK® together. There is no need to run to the hardware store, source other components, or use any tools.
Do I need to dig holes for footings? Does the deck require piers or piling?
No. blokDEK® is a freestanding deck and does not require any deck foundation preparation like screw piles or concrete piers. There is no digging or mixing concrete required for our products. If you wish to install your blokDEK® deck permanently, you can easily fasten the bloks to concrete piles, screw piles, and/or structural beams. Please contact us, and we will try to provide additional information as needed.
Does the ground need to be level before installation?
No. What makes the blokDEK® system so unique compared to other "modular" decks is that you don't need to have perfectly level ground. The blokDEK® aluminum deck frame features built-in levelling feet, allowing you to adjust the level of the deck in multiple positions up to 4". If you require leveling greater than that, we recommend simply placing the leveling feet on paving stones for additional height.
Full list of FAQs
View our comprehensive FAQ section.
Shipping
Flat rate shipping of $399 on all deck orders in Canada and USA
Returns & Exchanges
30-day returns or exchanges available if you are not fully satisfied
Customer Support
blokDEK® experts available to answer all your decking questions
Lifetime Warranty
Limited lifetime warranty on blokDEK®'s aluminum deck framing system
Need Help Getting Started?
Get Exclusive Access to Special Offers
- Choosing a selection results in a full page refresh.
- Opens in a new window.


